
LOW-COST VENTILATOR PROTOTYPE
As the world went into lockdown in March 2020, fears that the country was only a few days away from running out of medical ventilators were top of mind. Prototyping a low cost, off-the-shelf ventilator became a personal goal and project.
INITIAL IDEAS
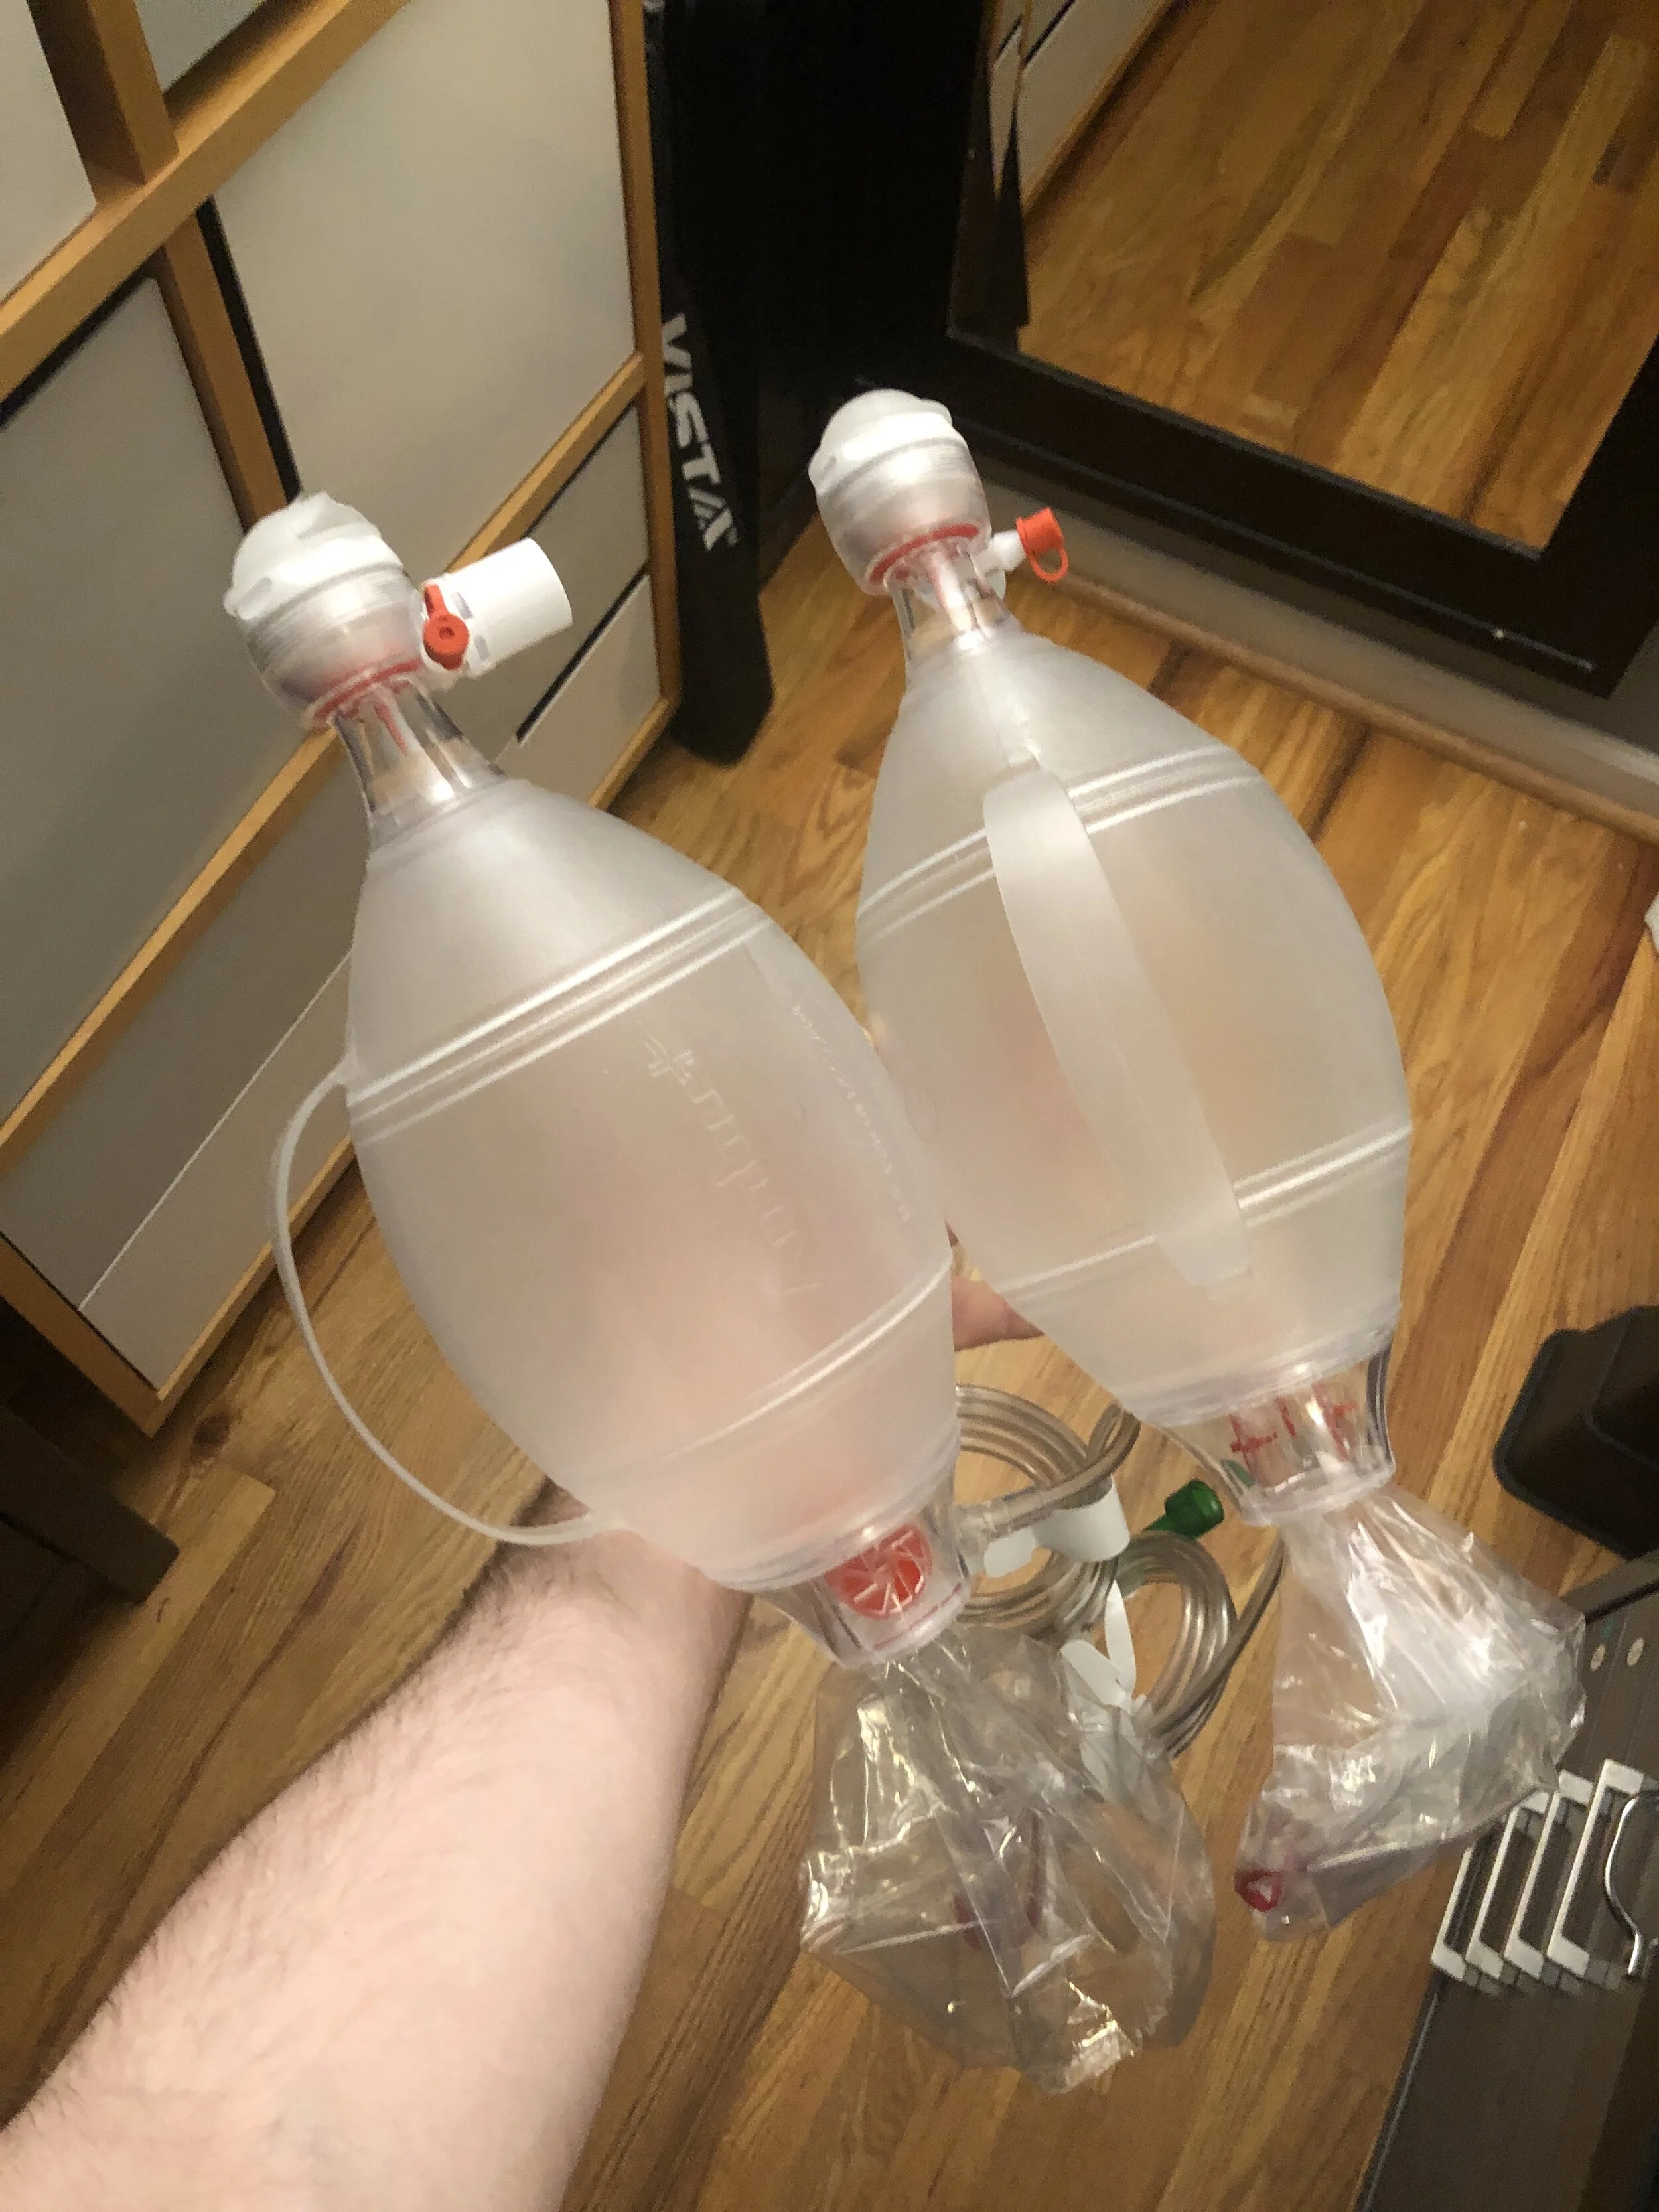
A respiratory therapist friend helped me hone the requirements of the device by establishing some baselines for a typical human breathing: .5L tidal volume at 12-20 breaths per minute. With these numbers as a goal, I did a deep dive into makers forums, Github, Reddit, and Youtube. Of the components that would be involved in such a device, the air bladder was the most specialized and critical. I found a product already existed in large quantities and for relatively little money that was perfect: the Ambu Bag manual resuscitator. This product was simple to use, durable, and time-tested. It met my design goals with a theoretical volume of .8L, and came complete with additional features like oxygen line hookups.
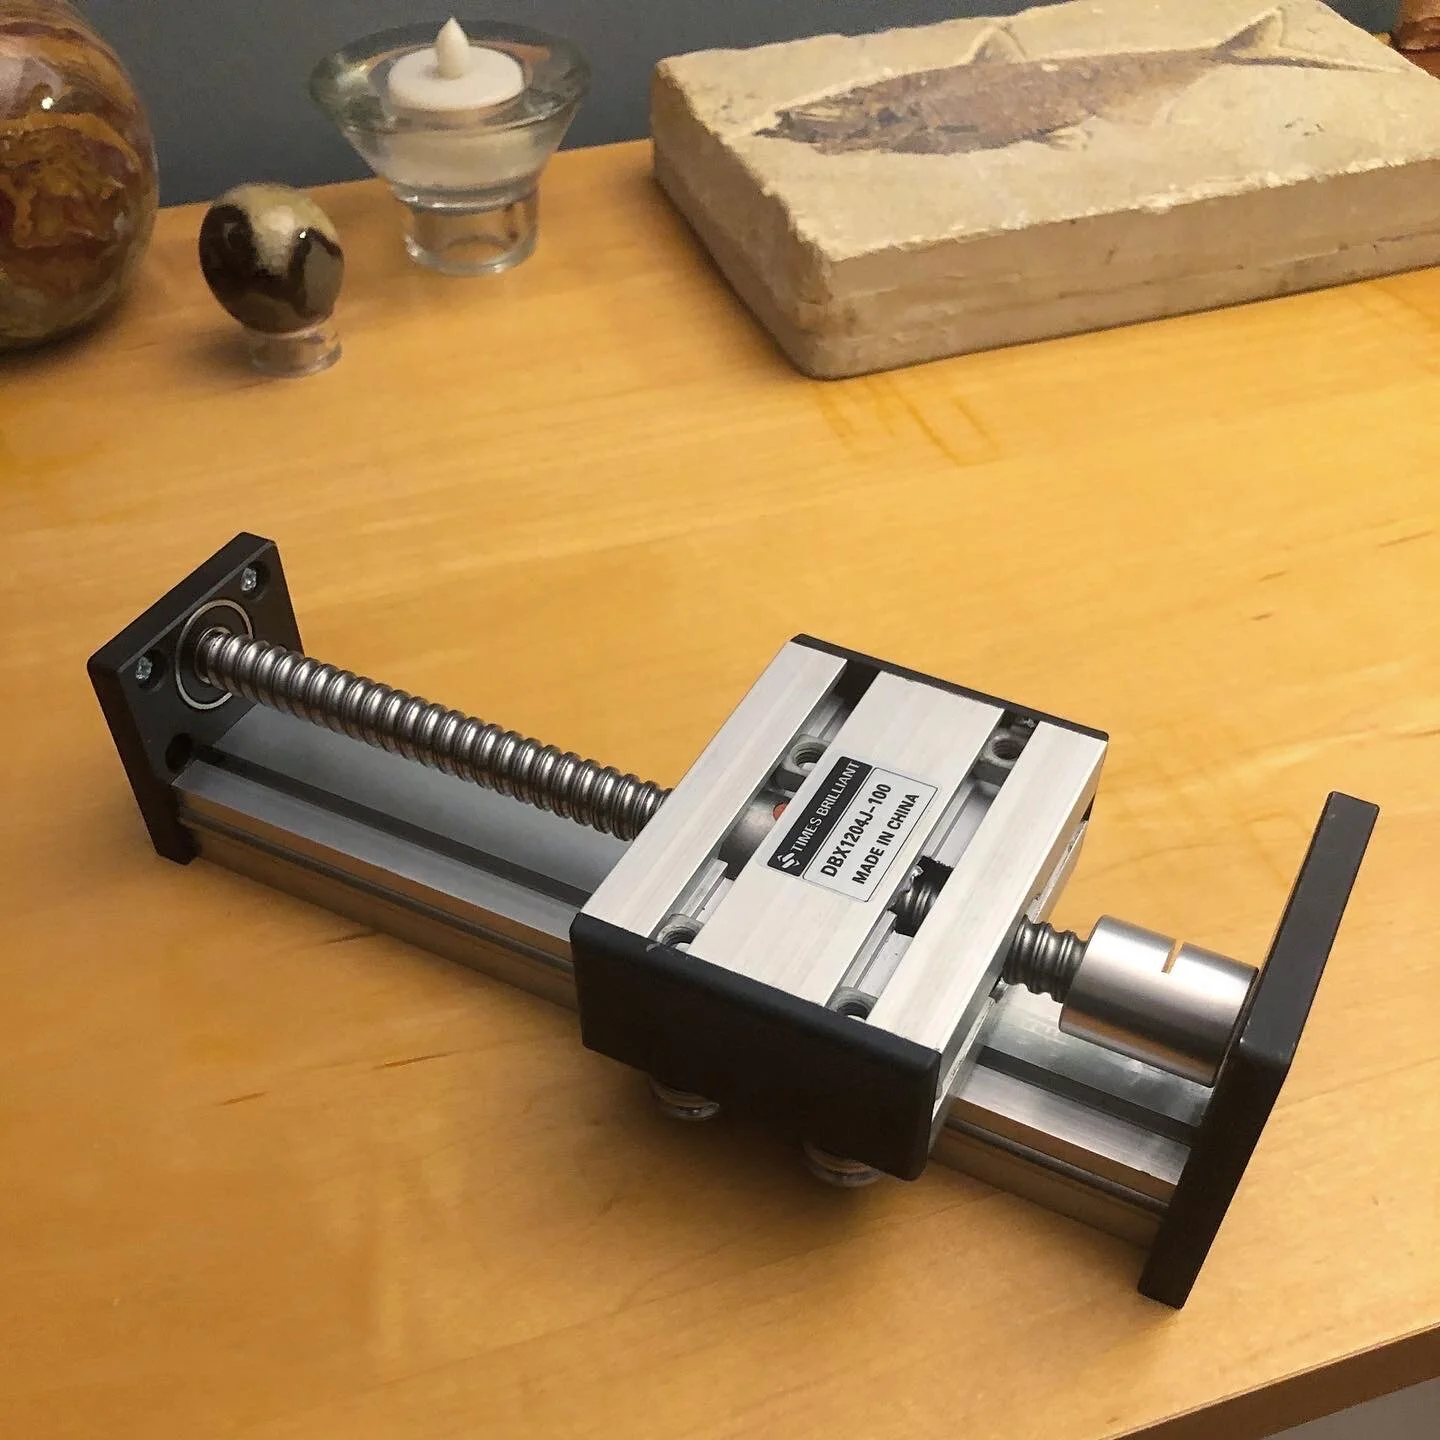
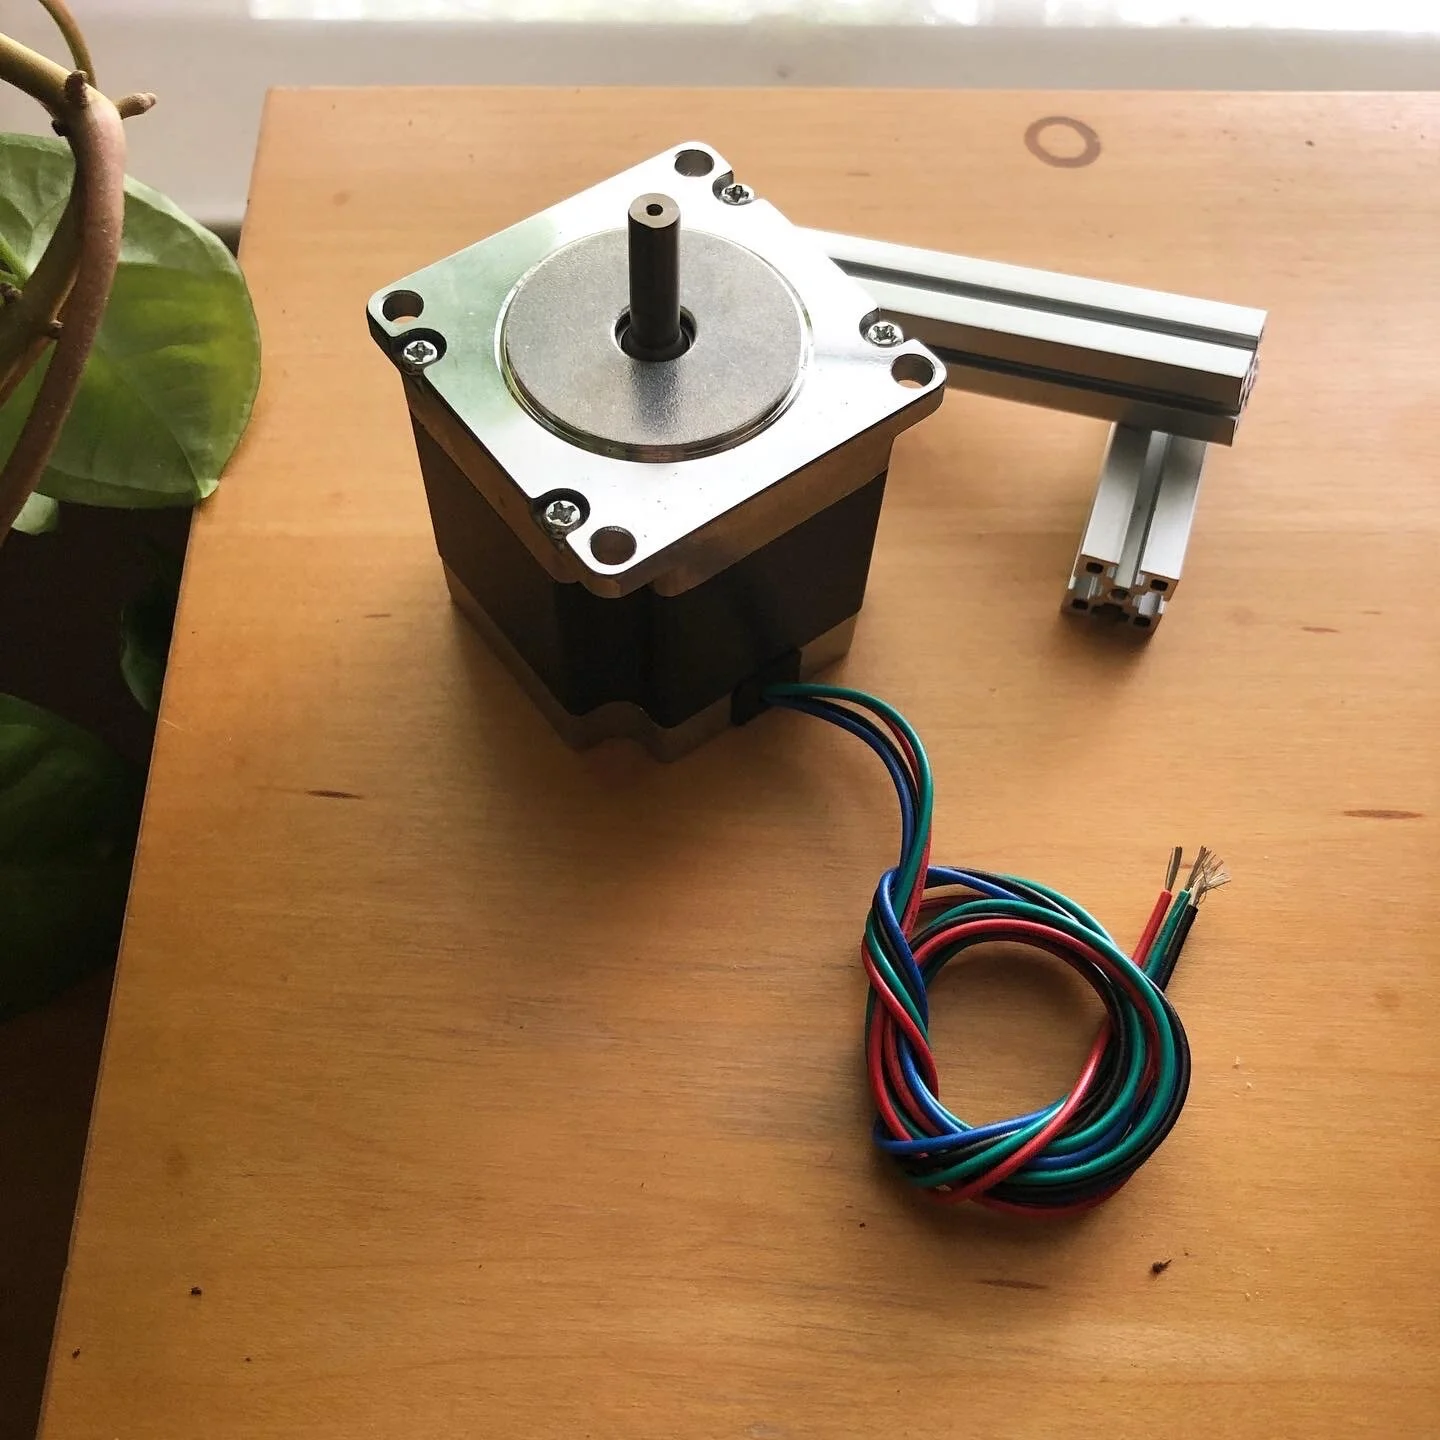
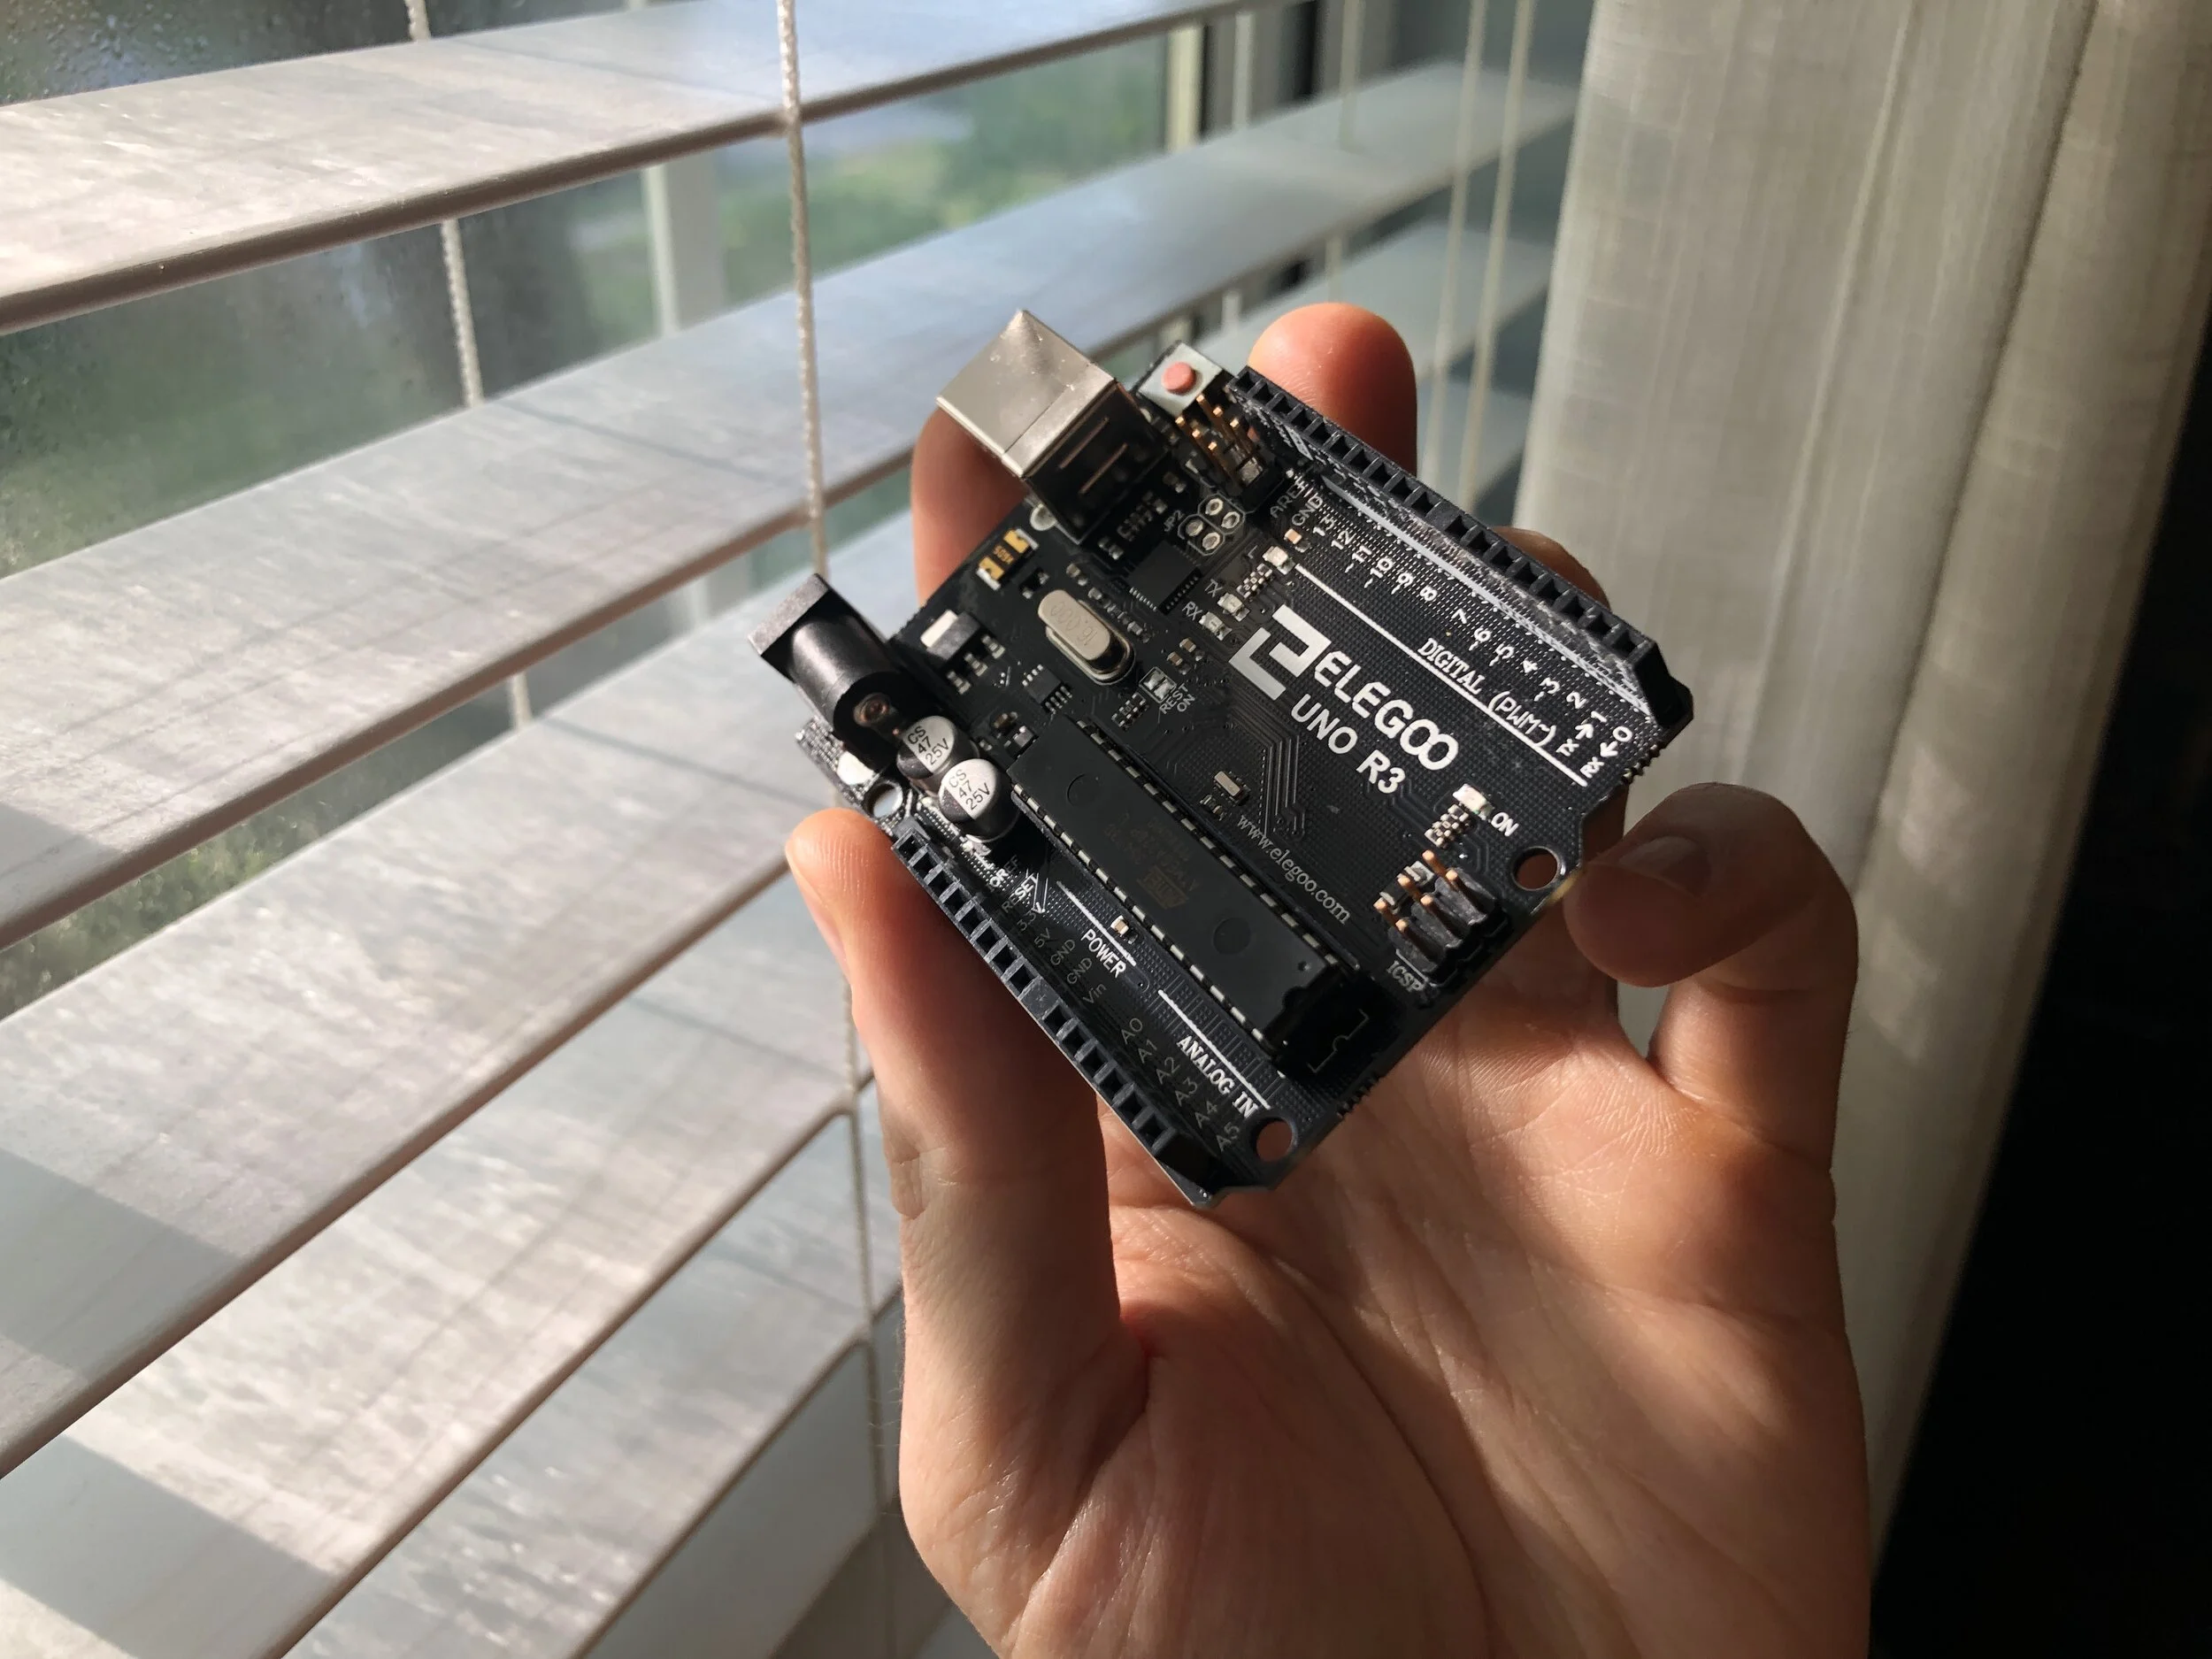
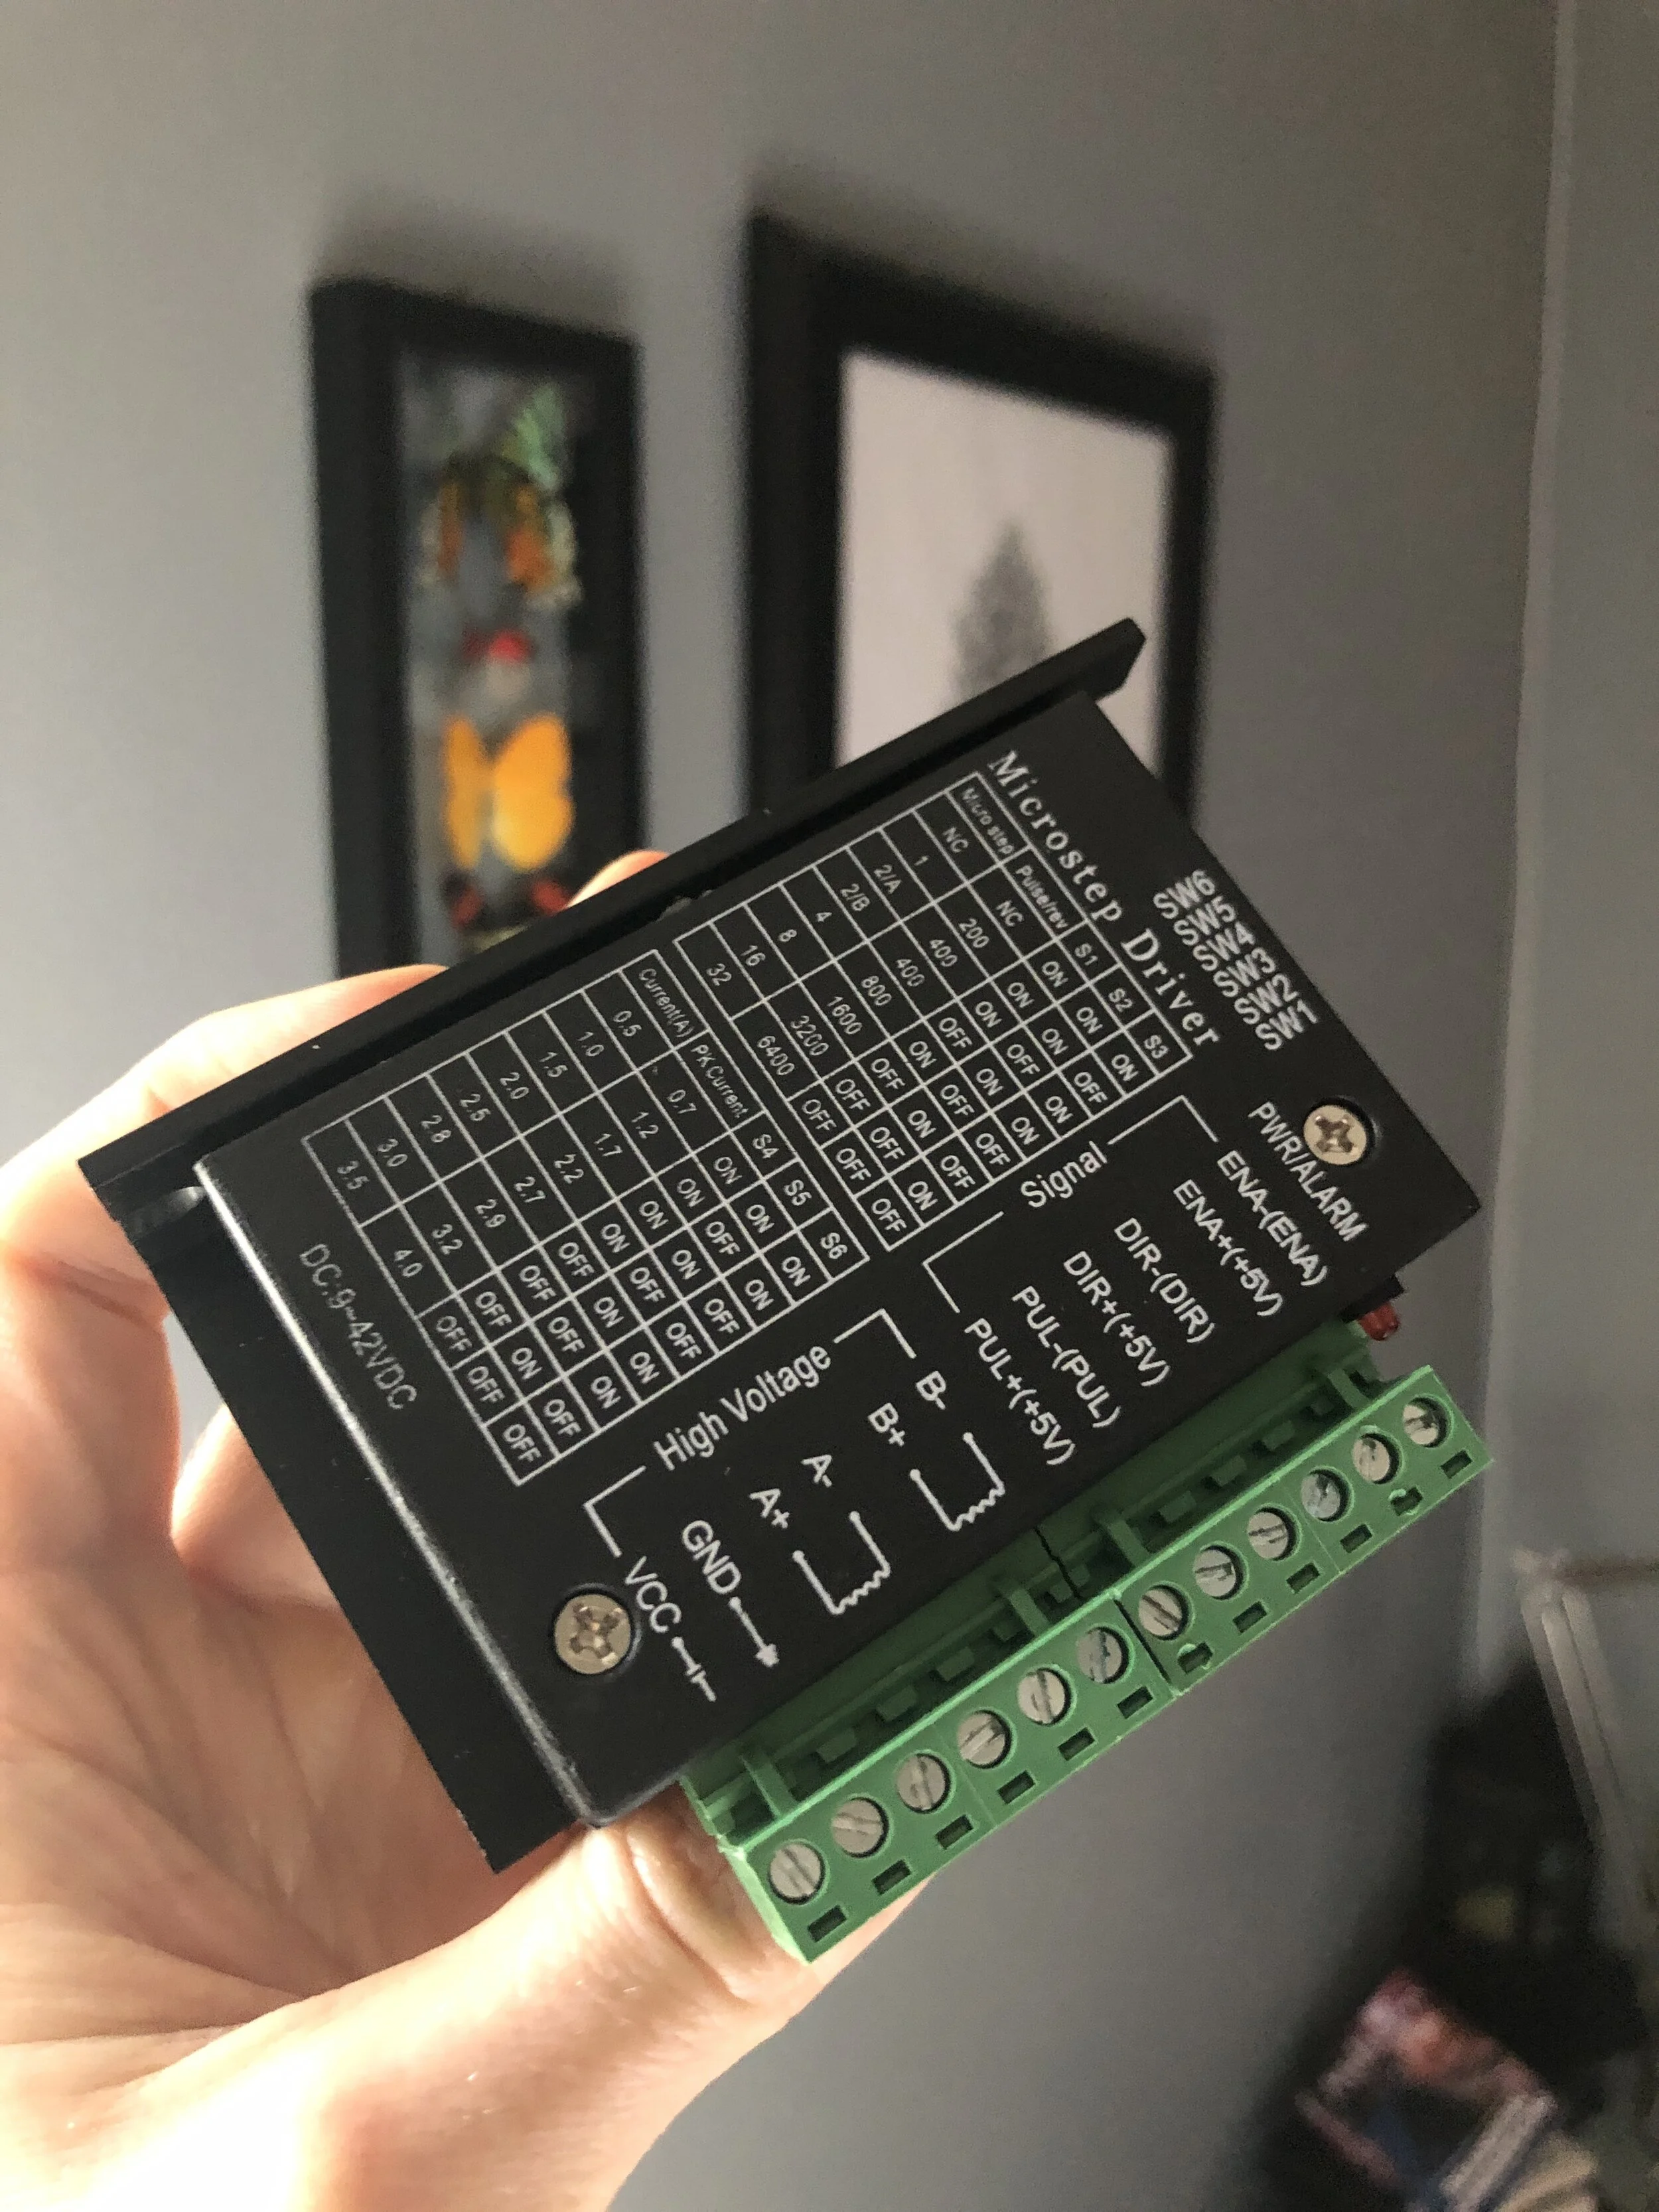
The Ambu Bag is designed for hand-held squeezing, which clarified the design of the machine as one that would simulate the compressing motion of a human hand. It would need to achieve this movement with a precise travel distance for a sustained period of time, and would need to be easy to assemble while isolating in my small apartment. Eventually I selected a ball screw from Motion Constrained with a 100mm travel distance to meet my requirements. A stepper motor seemed like a great choice to power the ball screw given its precise programability and numerous available guides in the Maker community. I opted for a Nema 23 as a balance between extra holding torque (1.26Nm) and lower power requirements (2.8A). Having limited knowledge in this area, I used a hardware guide by Benne de Bakker as a starting point: https://www.makerguides.com/tb6560-stepper-motor-driver-arduino-tutorial/ . Major deviations included opting for an upgraded TB6600 stepper motor driver for its improved microstepping resolution, and substituting an Elegoo Uno R3 in place of the Arduino as a cost saving advantage.
STRUCTURE
I went through several different designs for the overall structure as parts arrived in the mail and the idea was refined. A MakerBeam kit provided the majority of the raw T-Slot aluminum. My initial plan called for only one Ambu Bag, but I feared that inefficiencies in the compression mechanism might not achieve the minimum .5L air flow I was aiming for. As such, I settled on a dual bag solution with the ball screw and motor housed near the center.

Basic Structural Design v1
Basic Structural Design v2
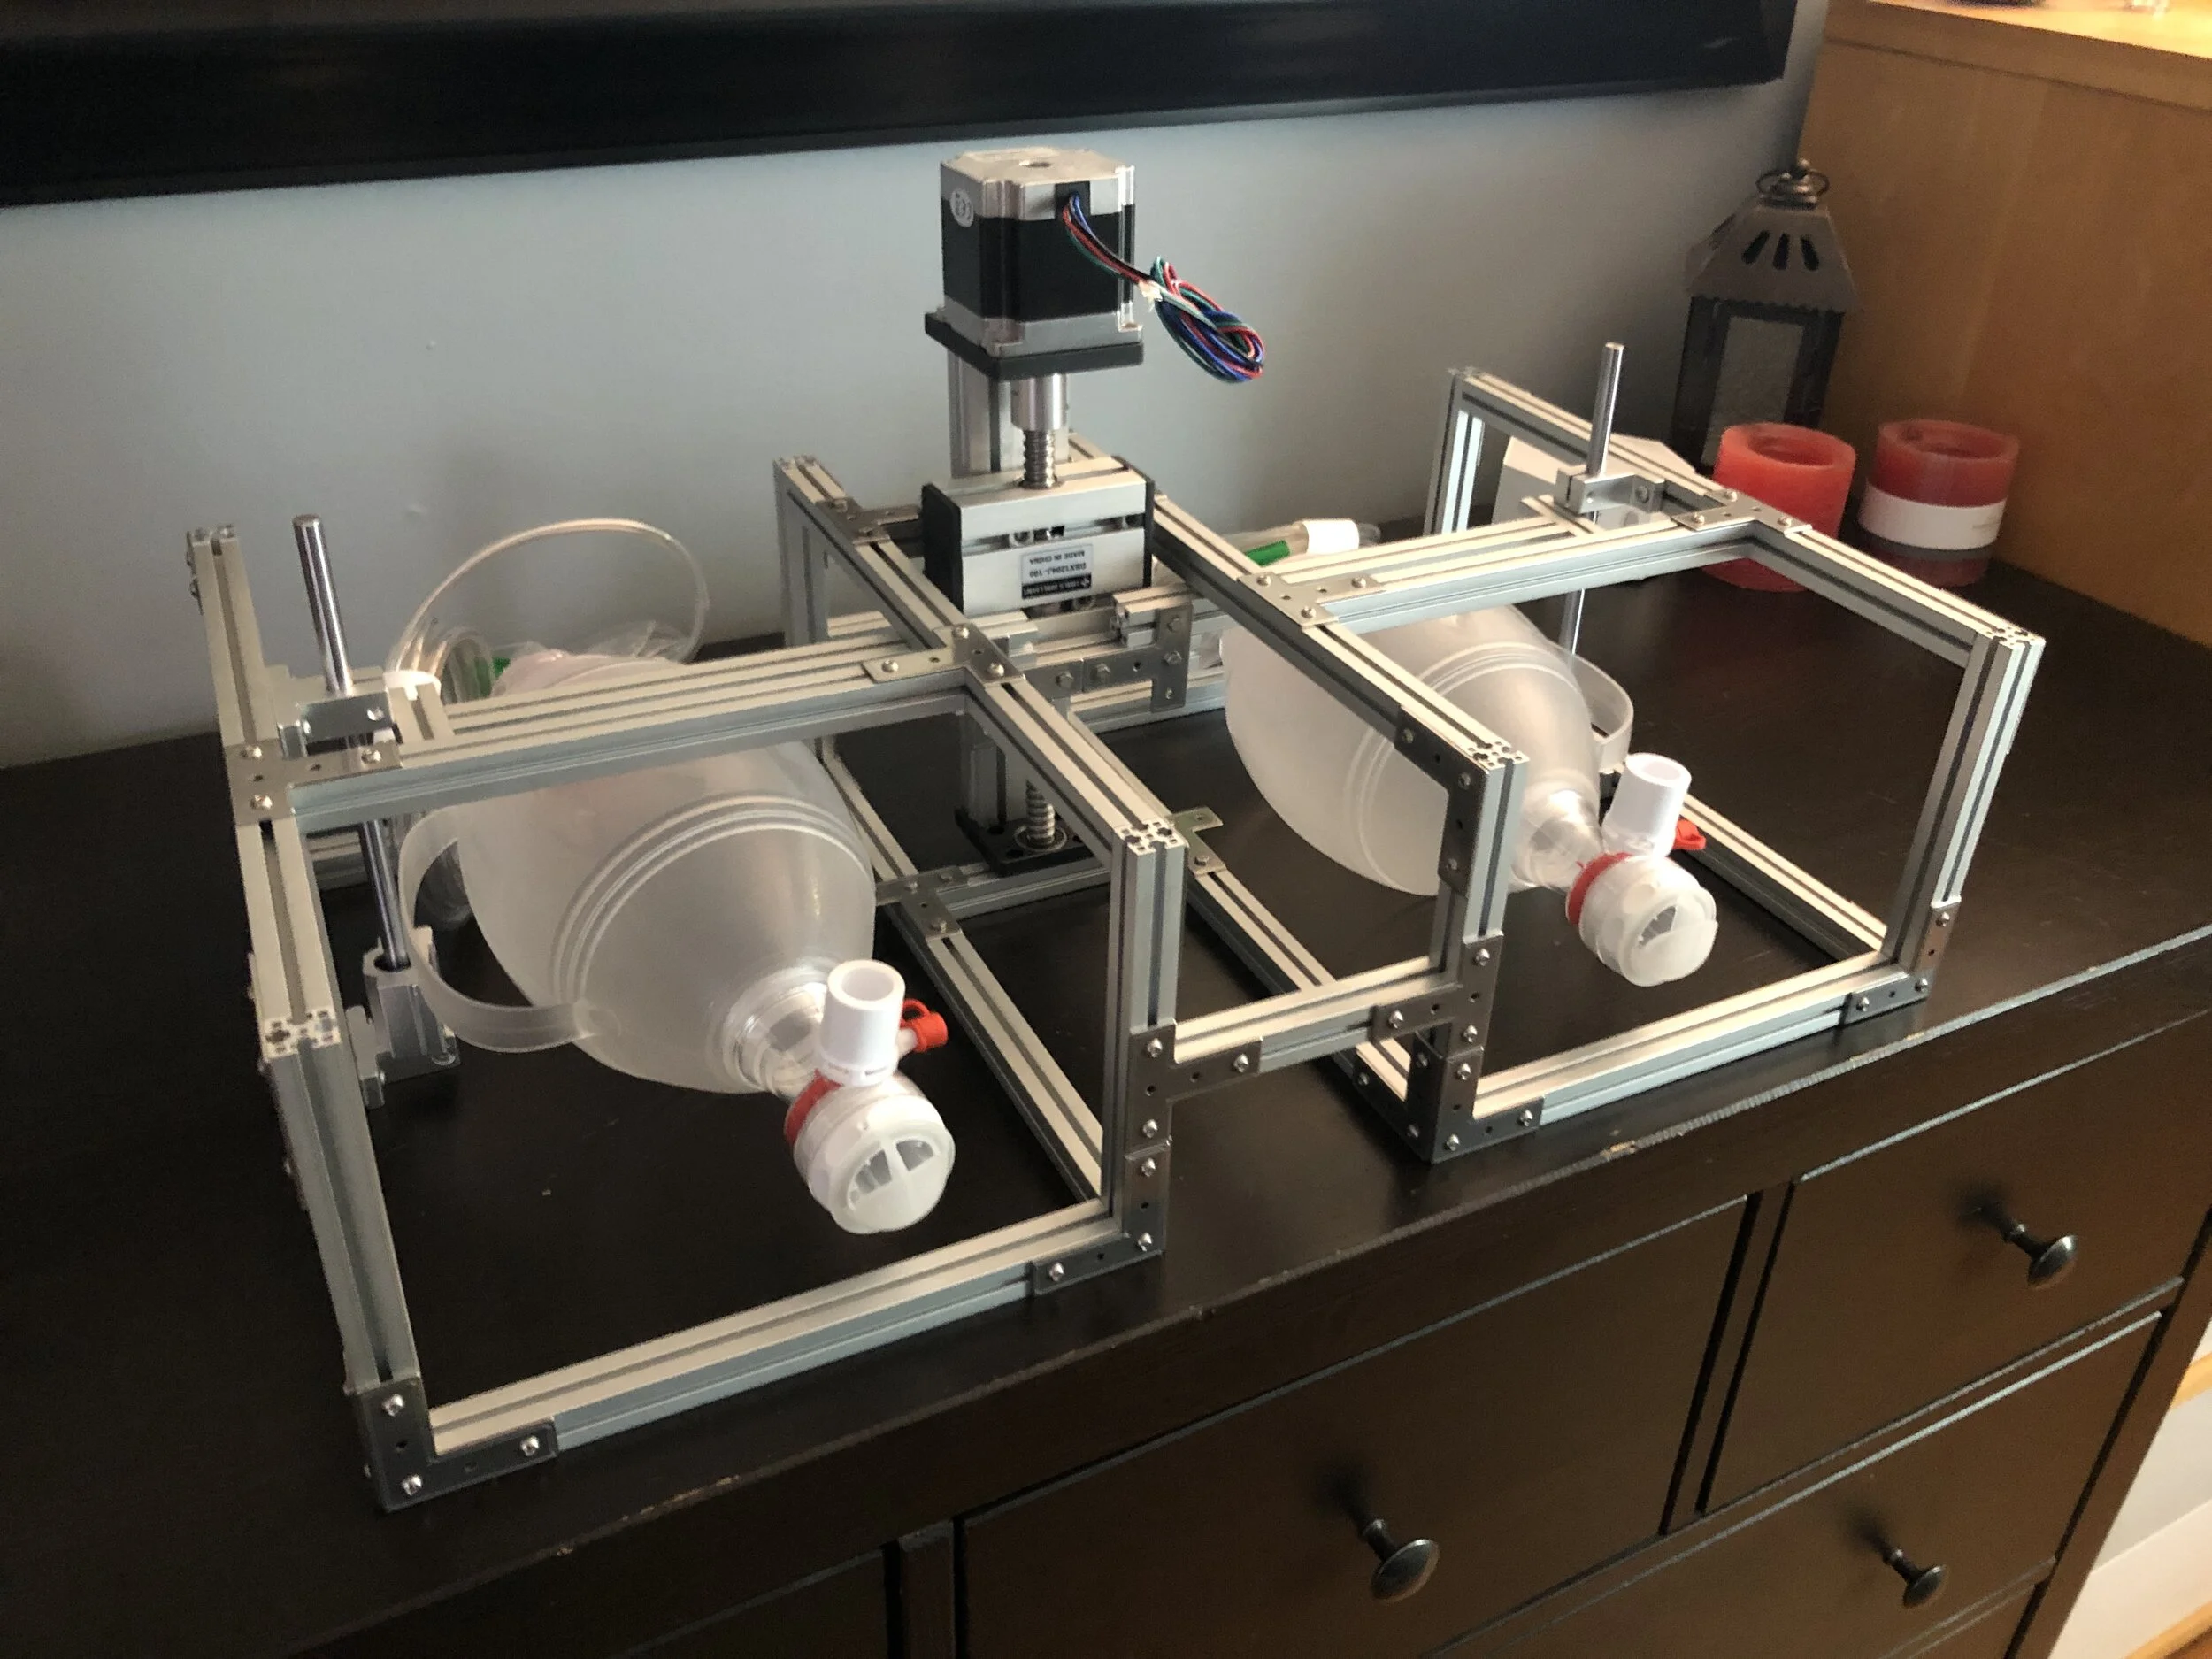
A third redesign proved necessary to increase the travel distance of the ball screw. This gave me just enough clearance to accommodate the full diameter of the Ambu Bags plus the width of a T-Slot bar which would translate the compressing force. The primary structure was now complete.
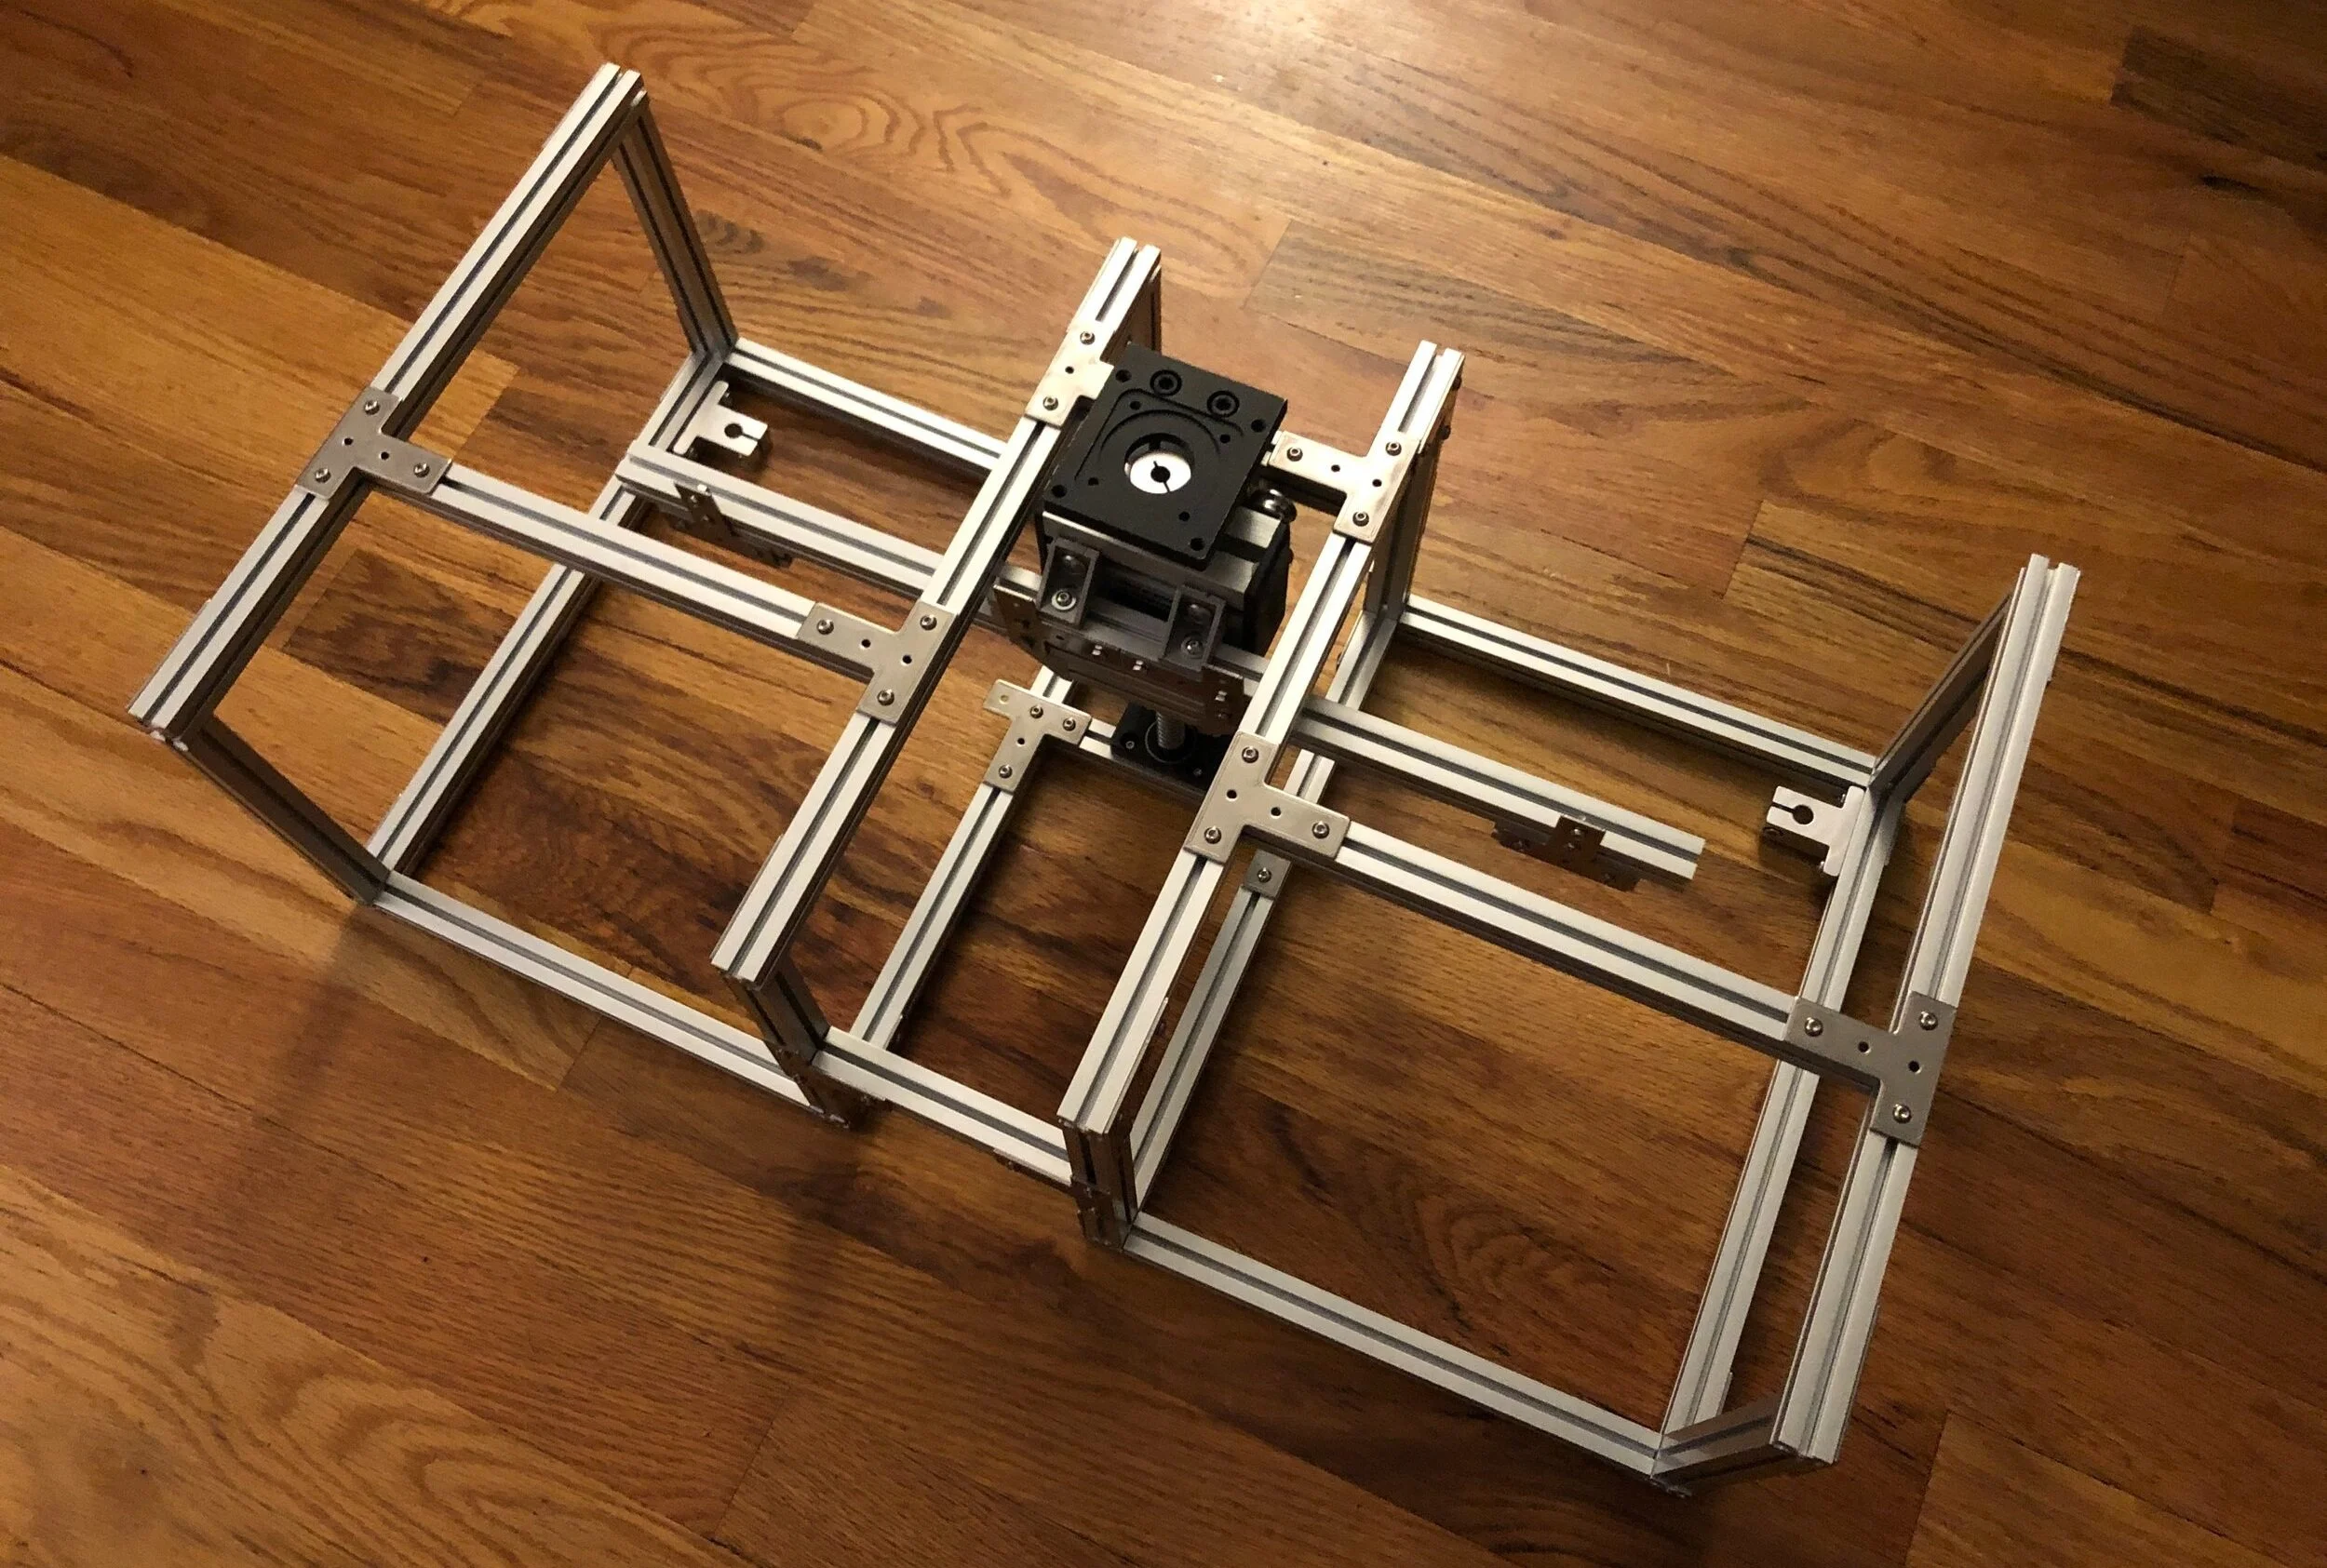
Basic Structural Design v3
CIRCUITRY & ELECTRONICS
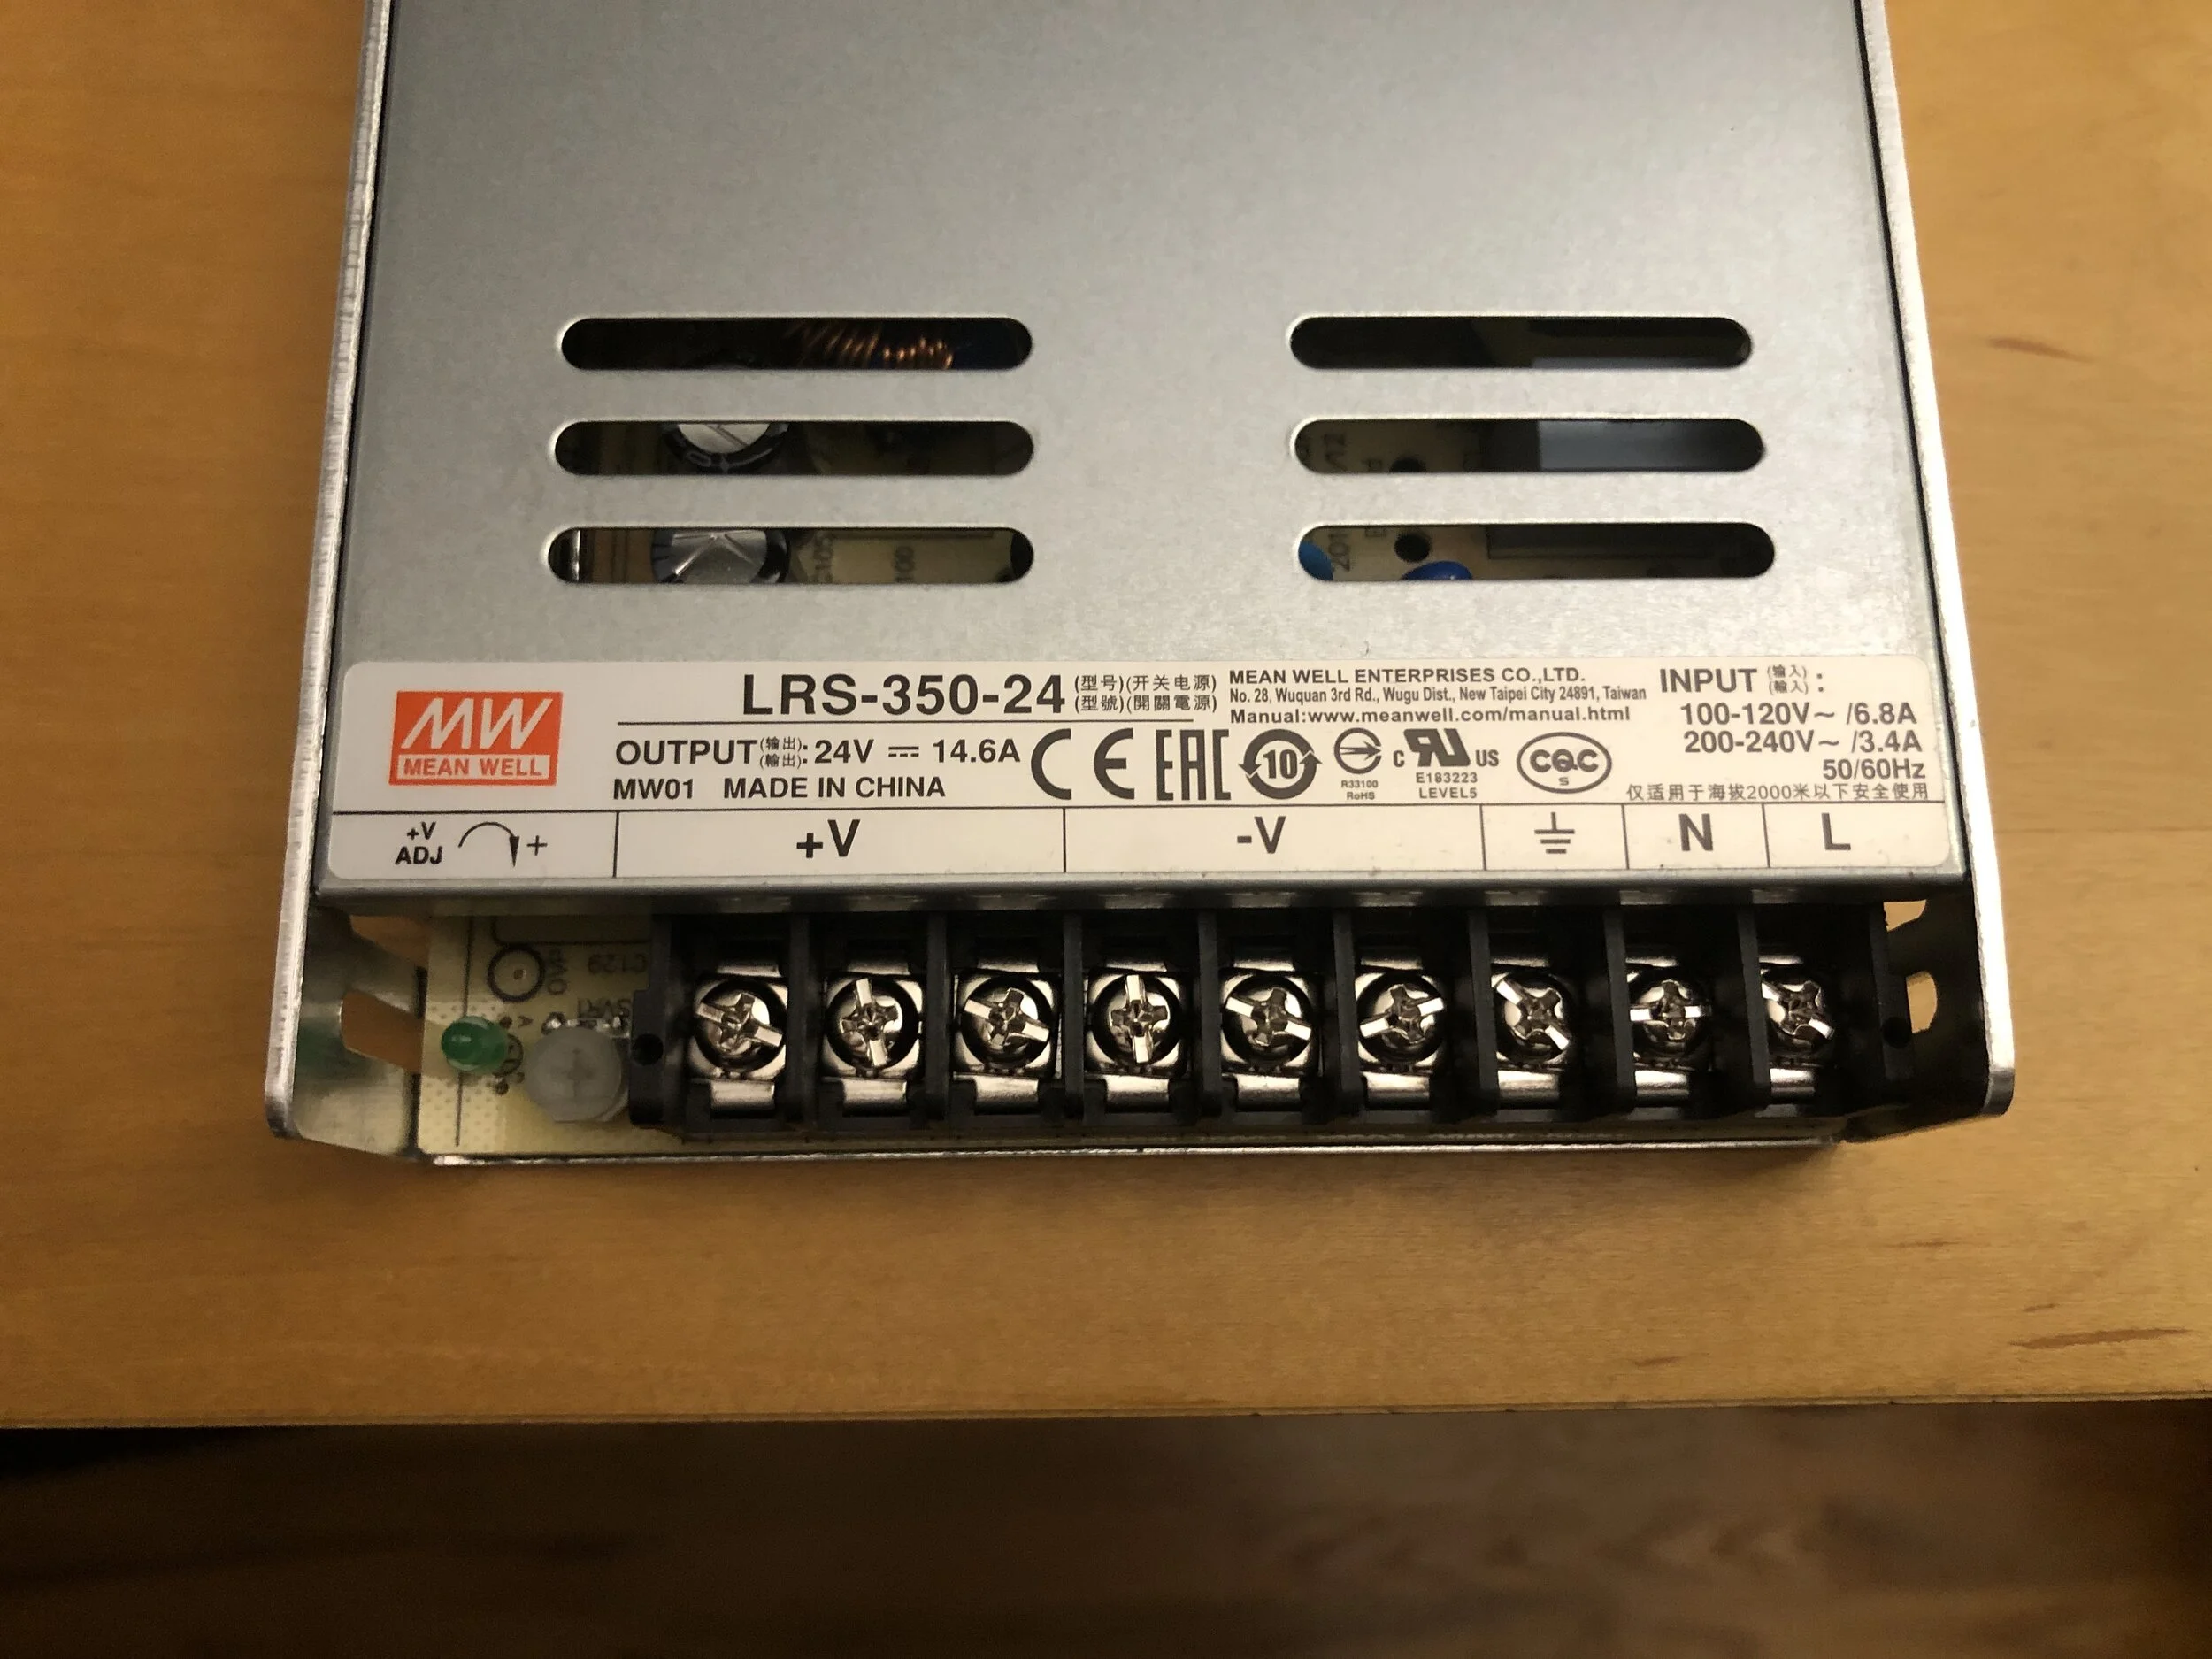
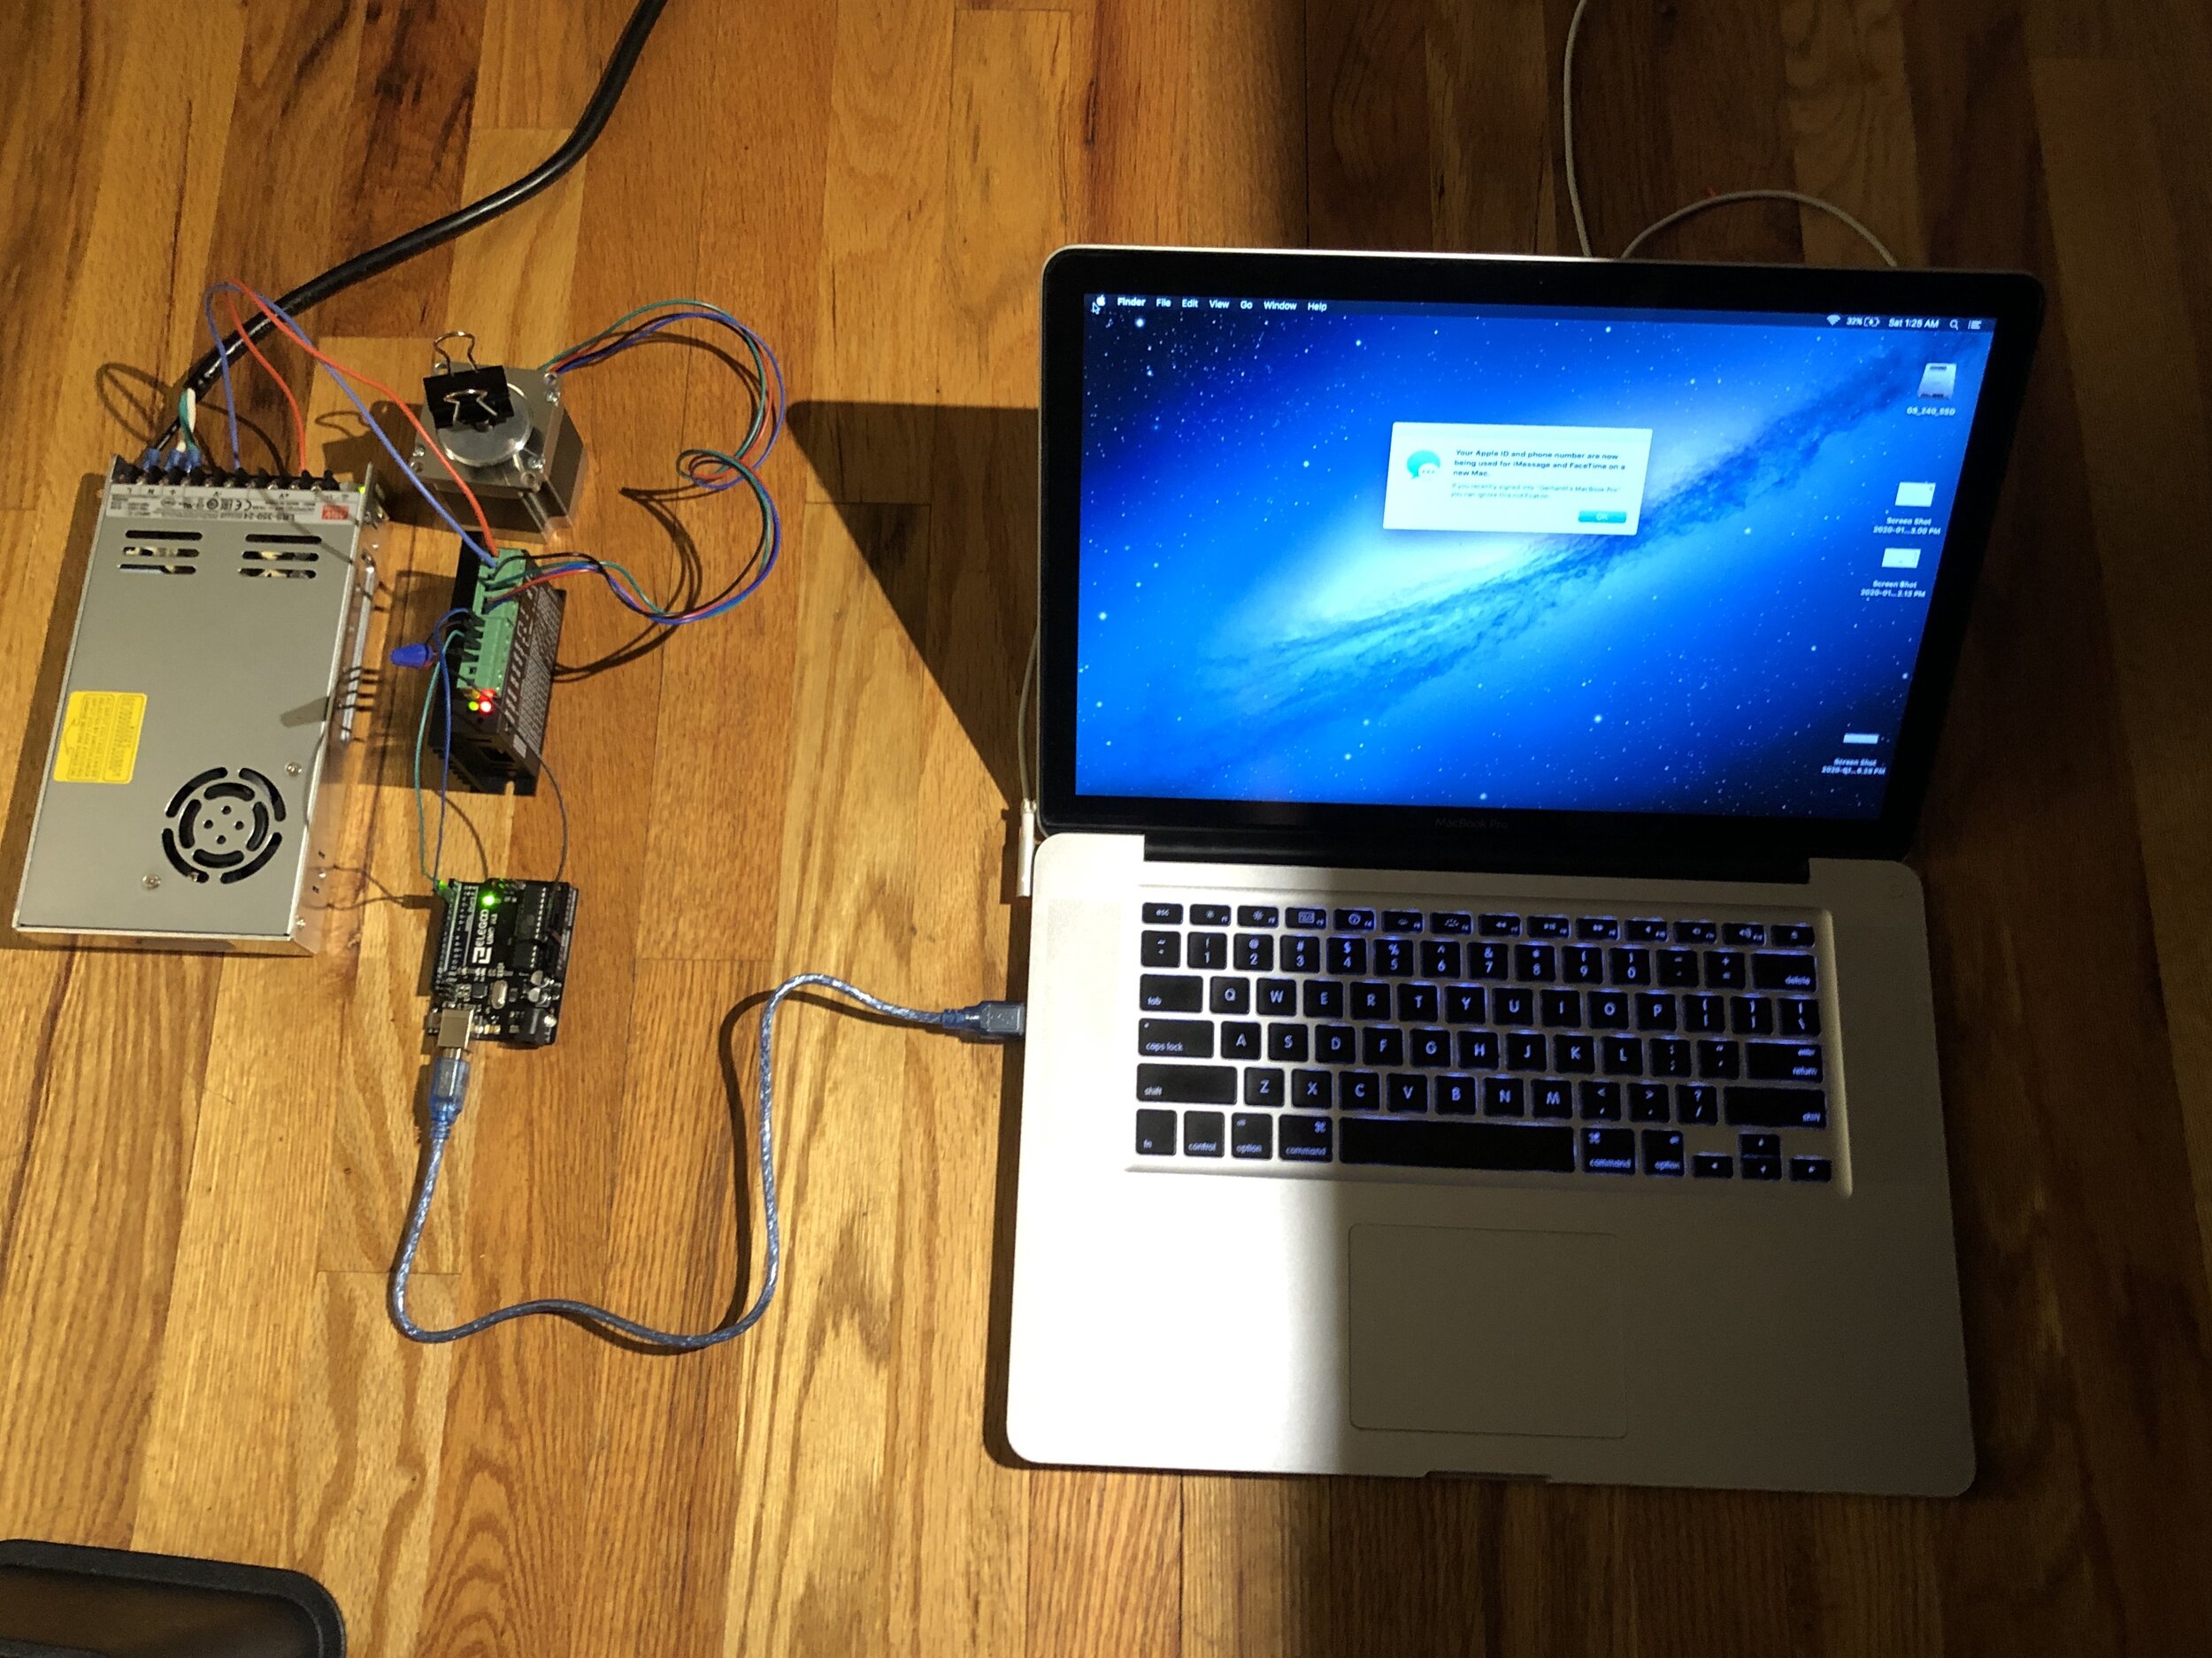
I pieced together several incomplete guides for the wiring from various internet sources, and triple and quadruple checked my connections a maddening number of times. I knew that if I was mistaken with any of my math or connections that I would most likely not have a second chance without buying new hardware. Finally I slipped on thick rubber shoes, held my breath, and stabbed into the outlet.
When the LEDs silently flashed to life without immediately shorting out I breathed a gigantic sigh of relief.

THE PROGRAM
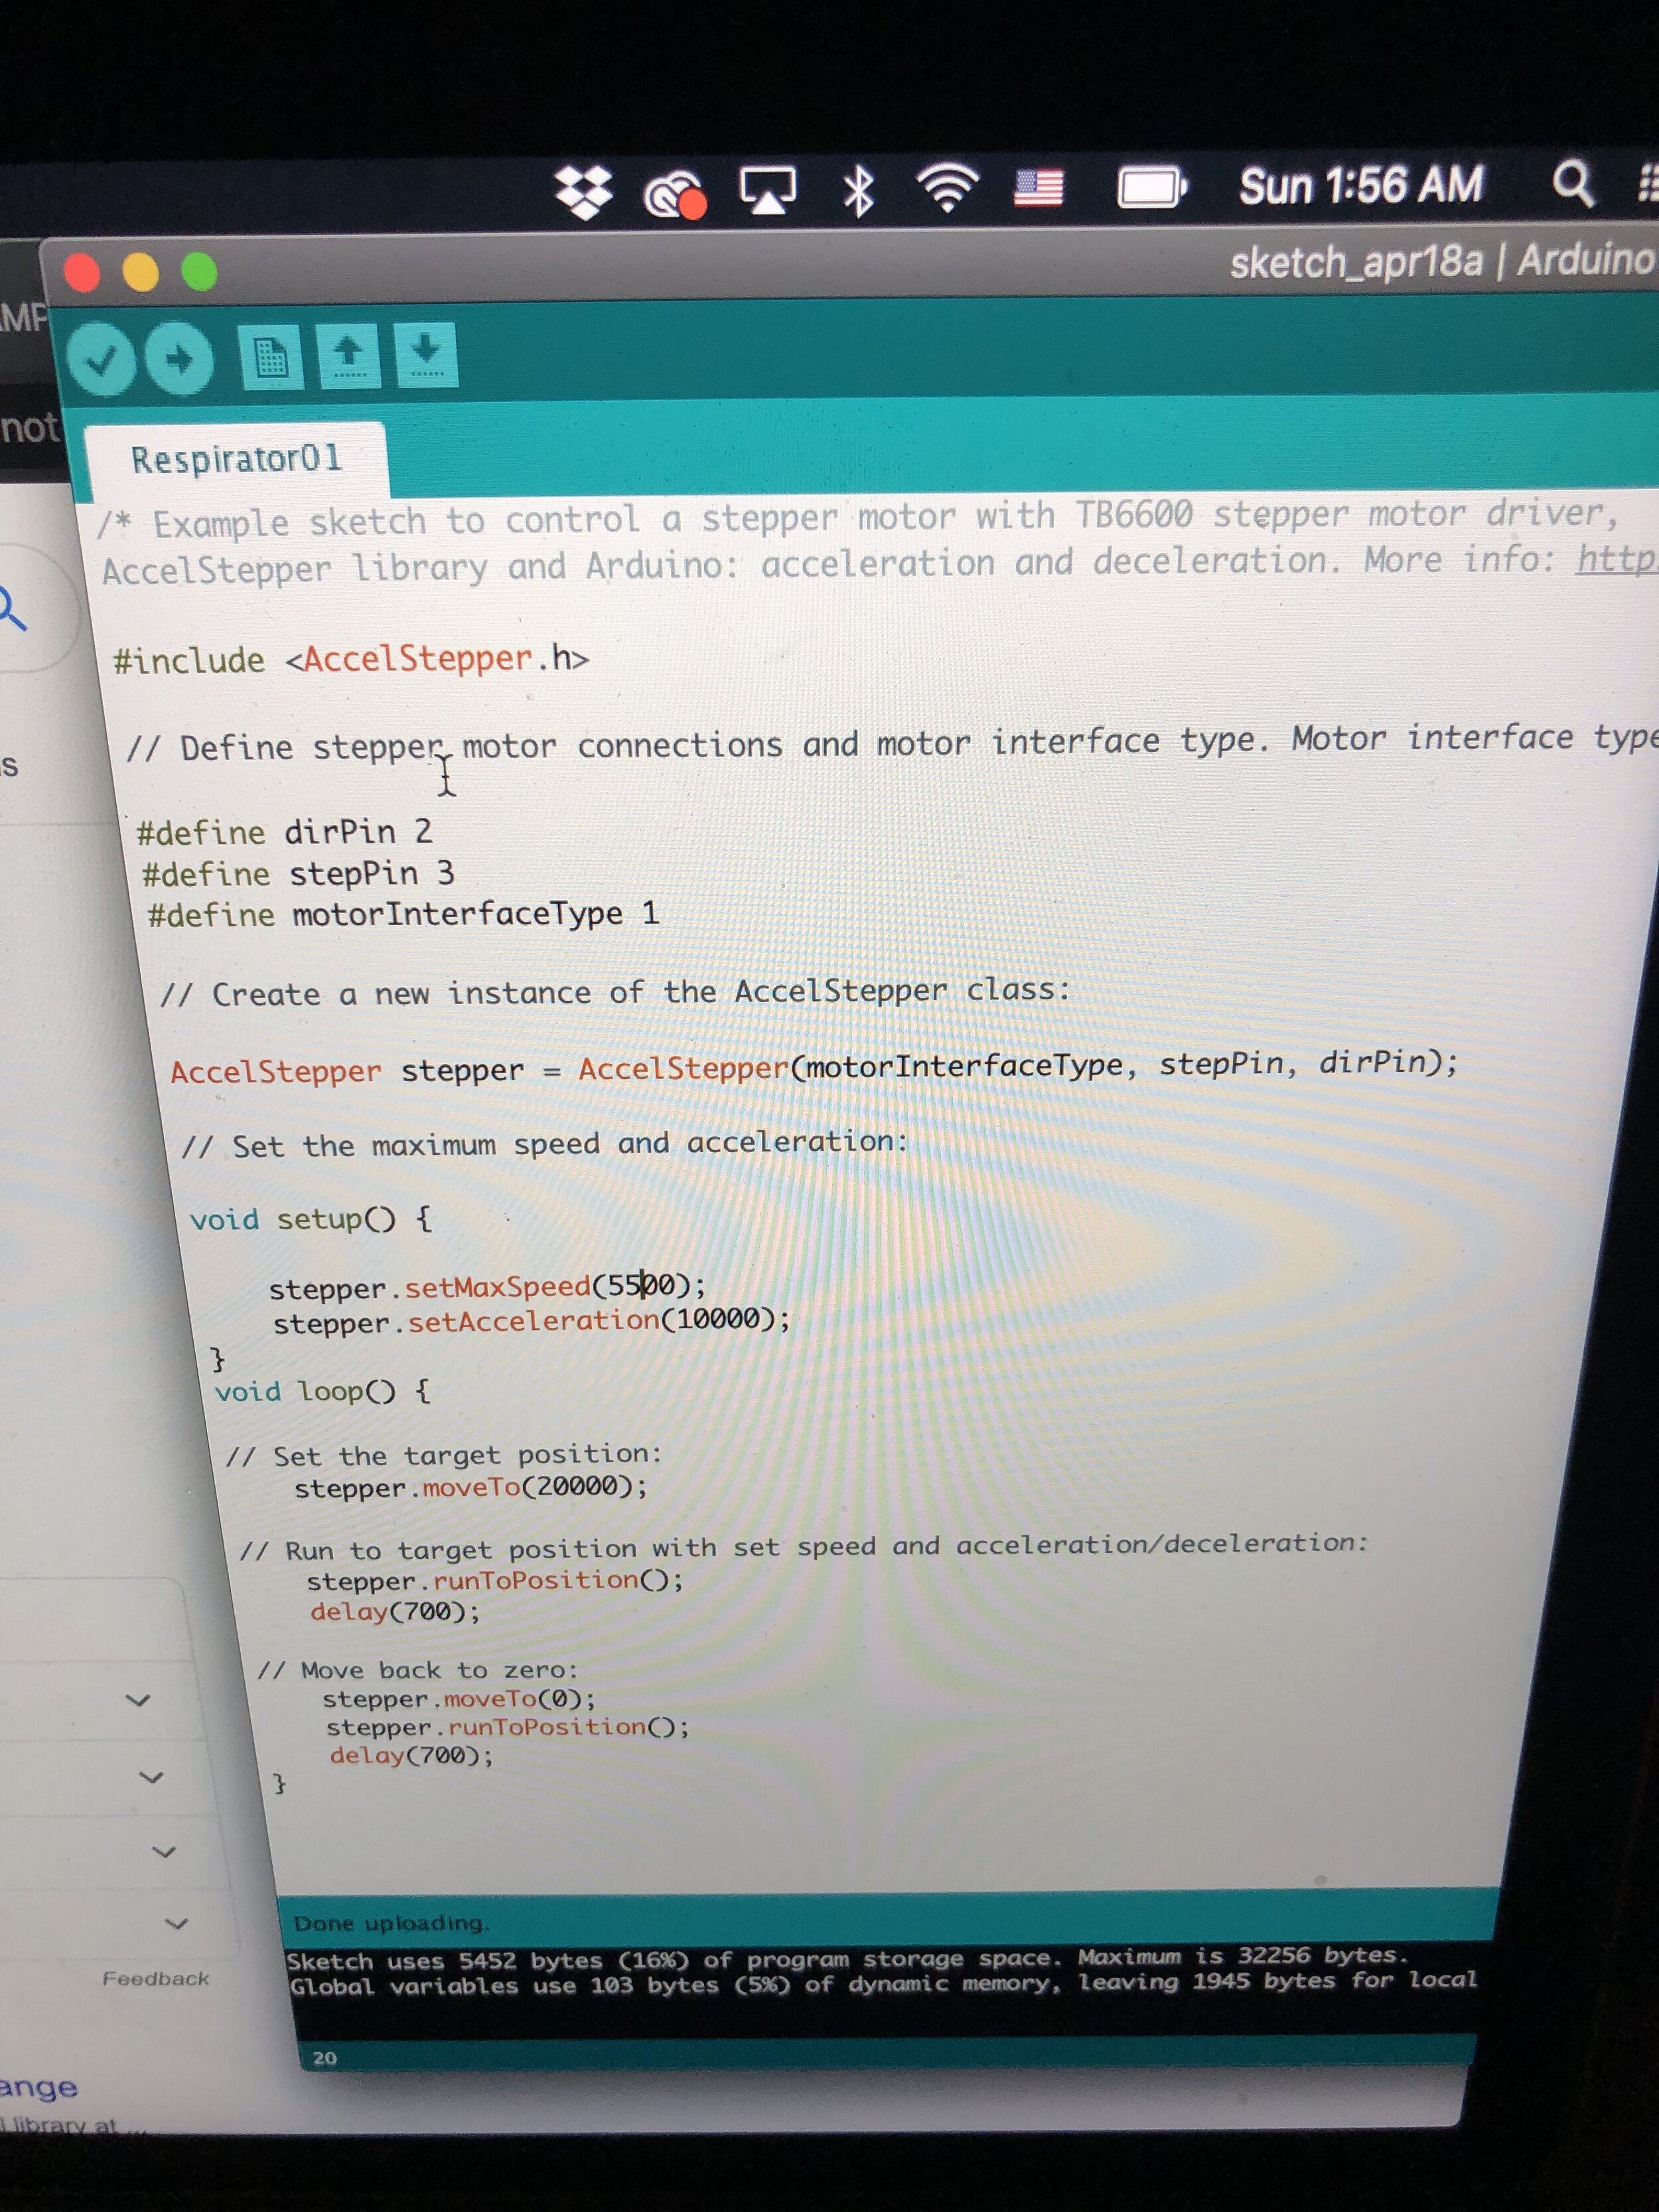
Perhaps my biggest surprise over the course of this project was the simplicity of the programming. I was lead to the AccelStepper library and quickly worked out the parameters that would need to be modified for my project. The ‘bounce’ program shown at right allowed me to target a position to drive the motor to before returning to zero, while also having methods for speed and acceleration. A slightly improved version could use inputs from sensors in the device to sense when the ball screw reached the end of its travel length, but some easy math and the precise nature of the stepper motor allowed me to dial in the proper number of rotations quickly. With some final tweaks to achieve maximum rotational speed, I was ready to install the electronics into the device.
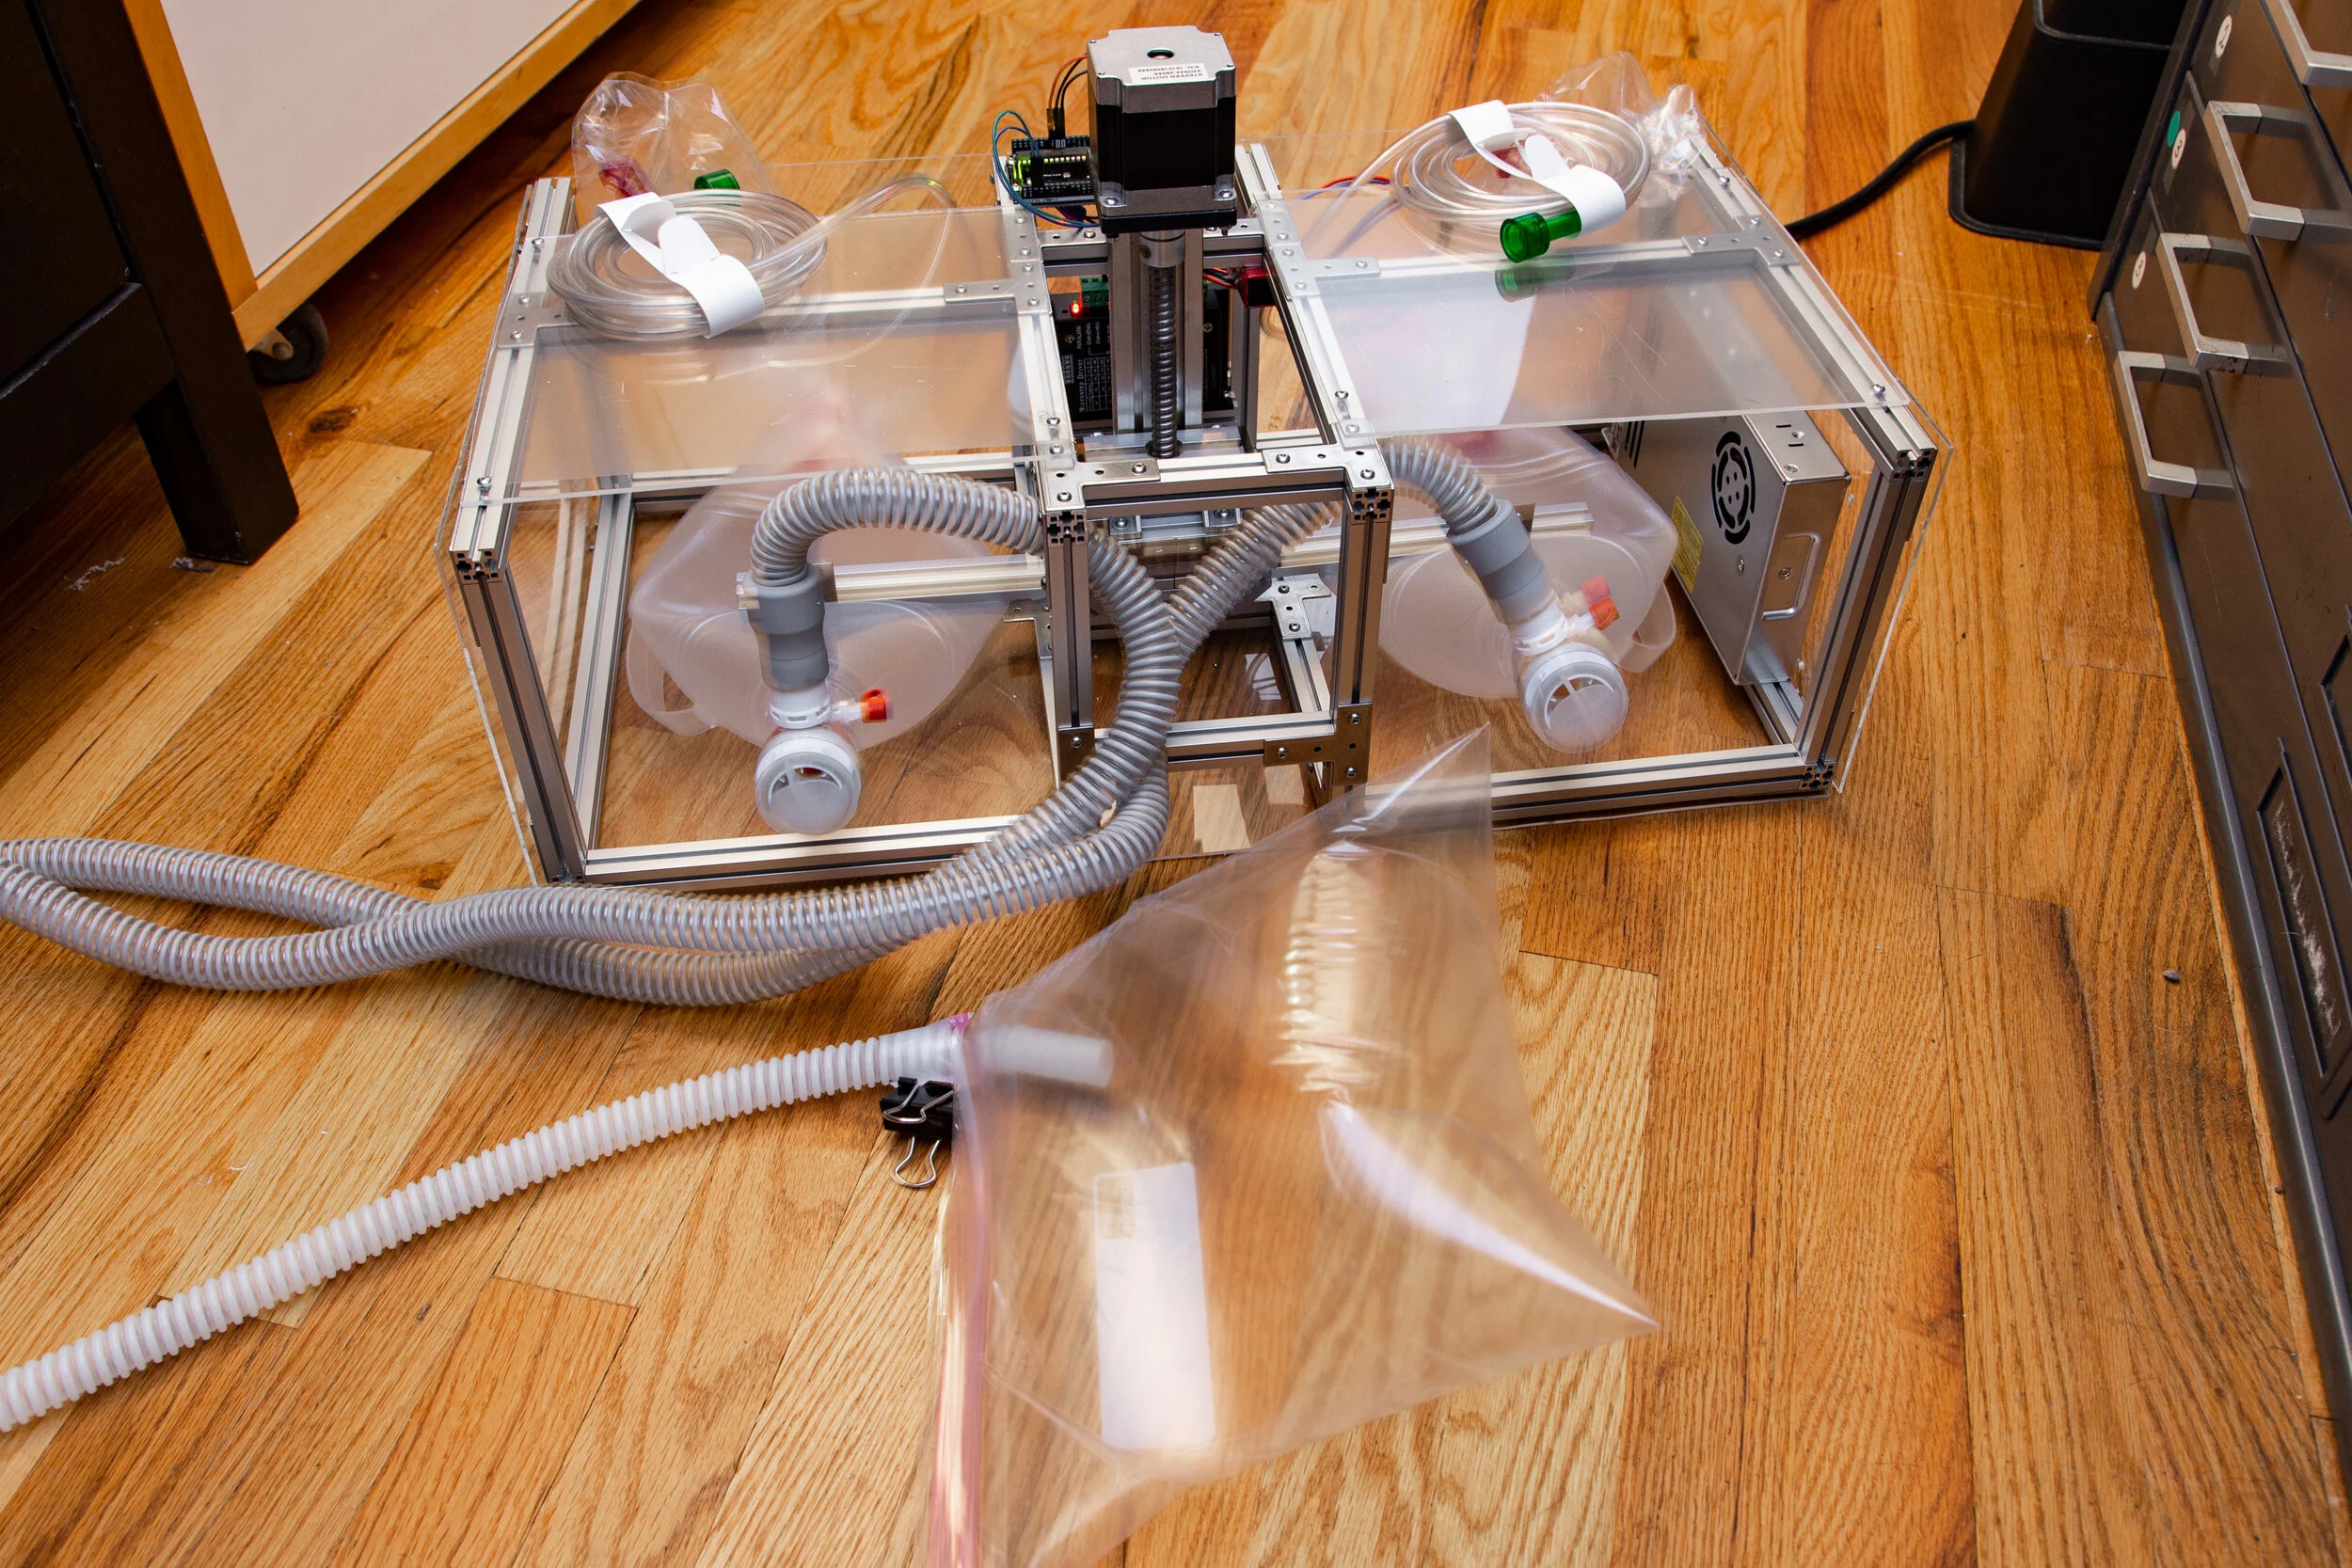
BRINGING IT ALL TOGETHER
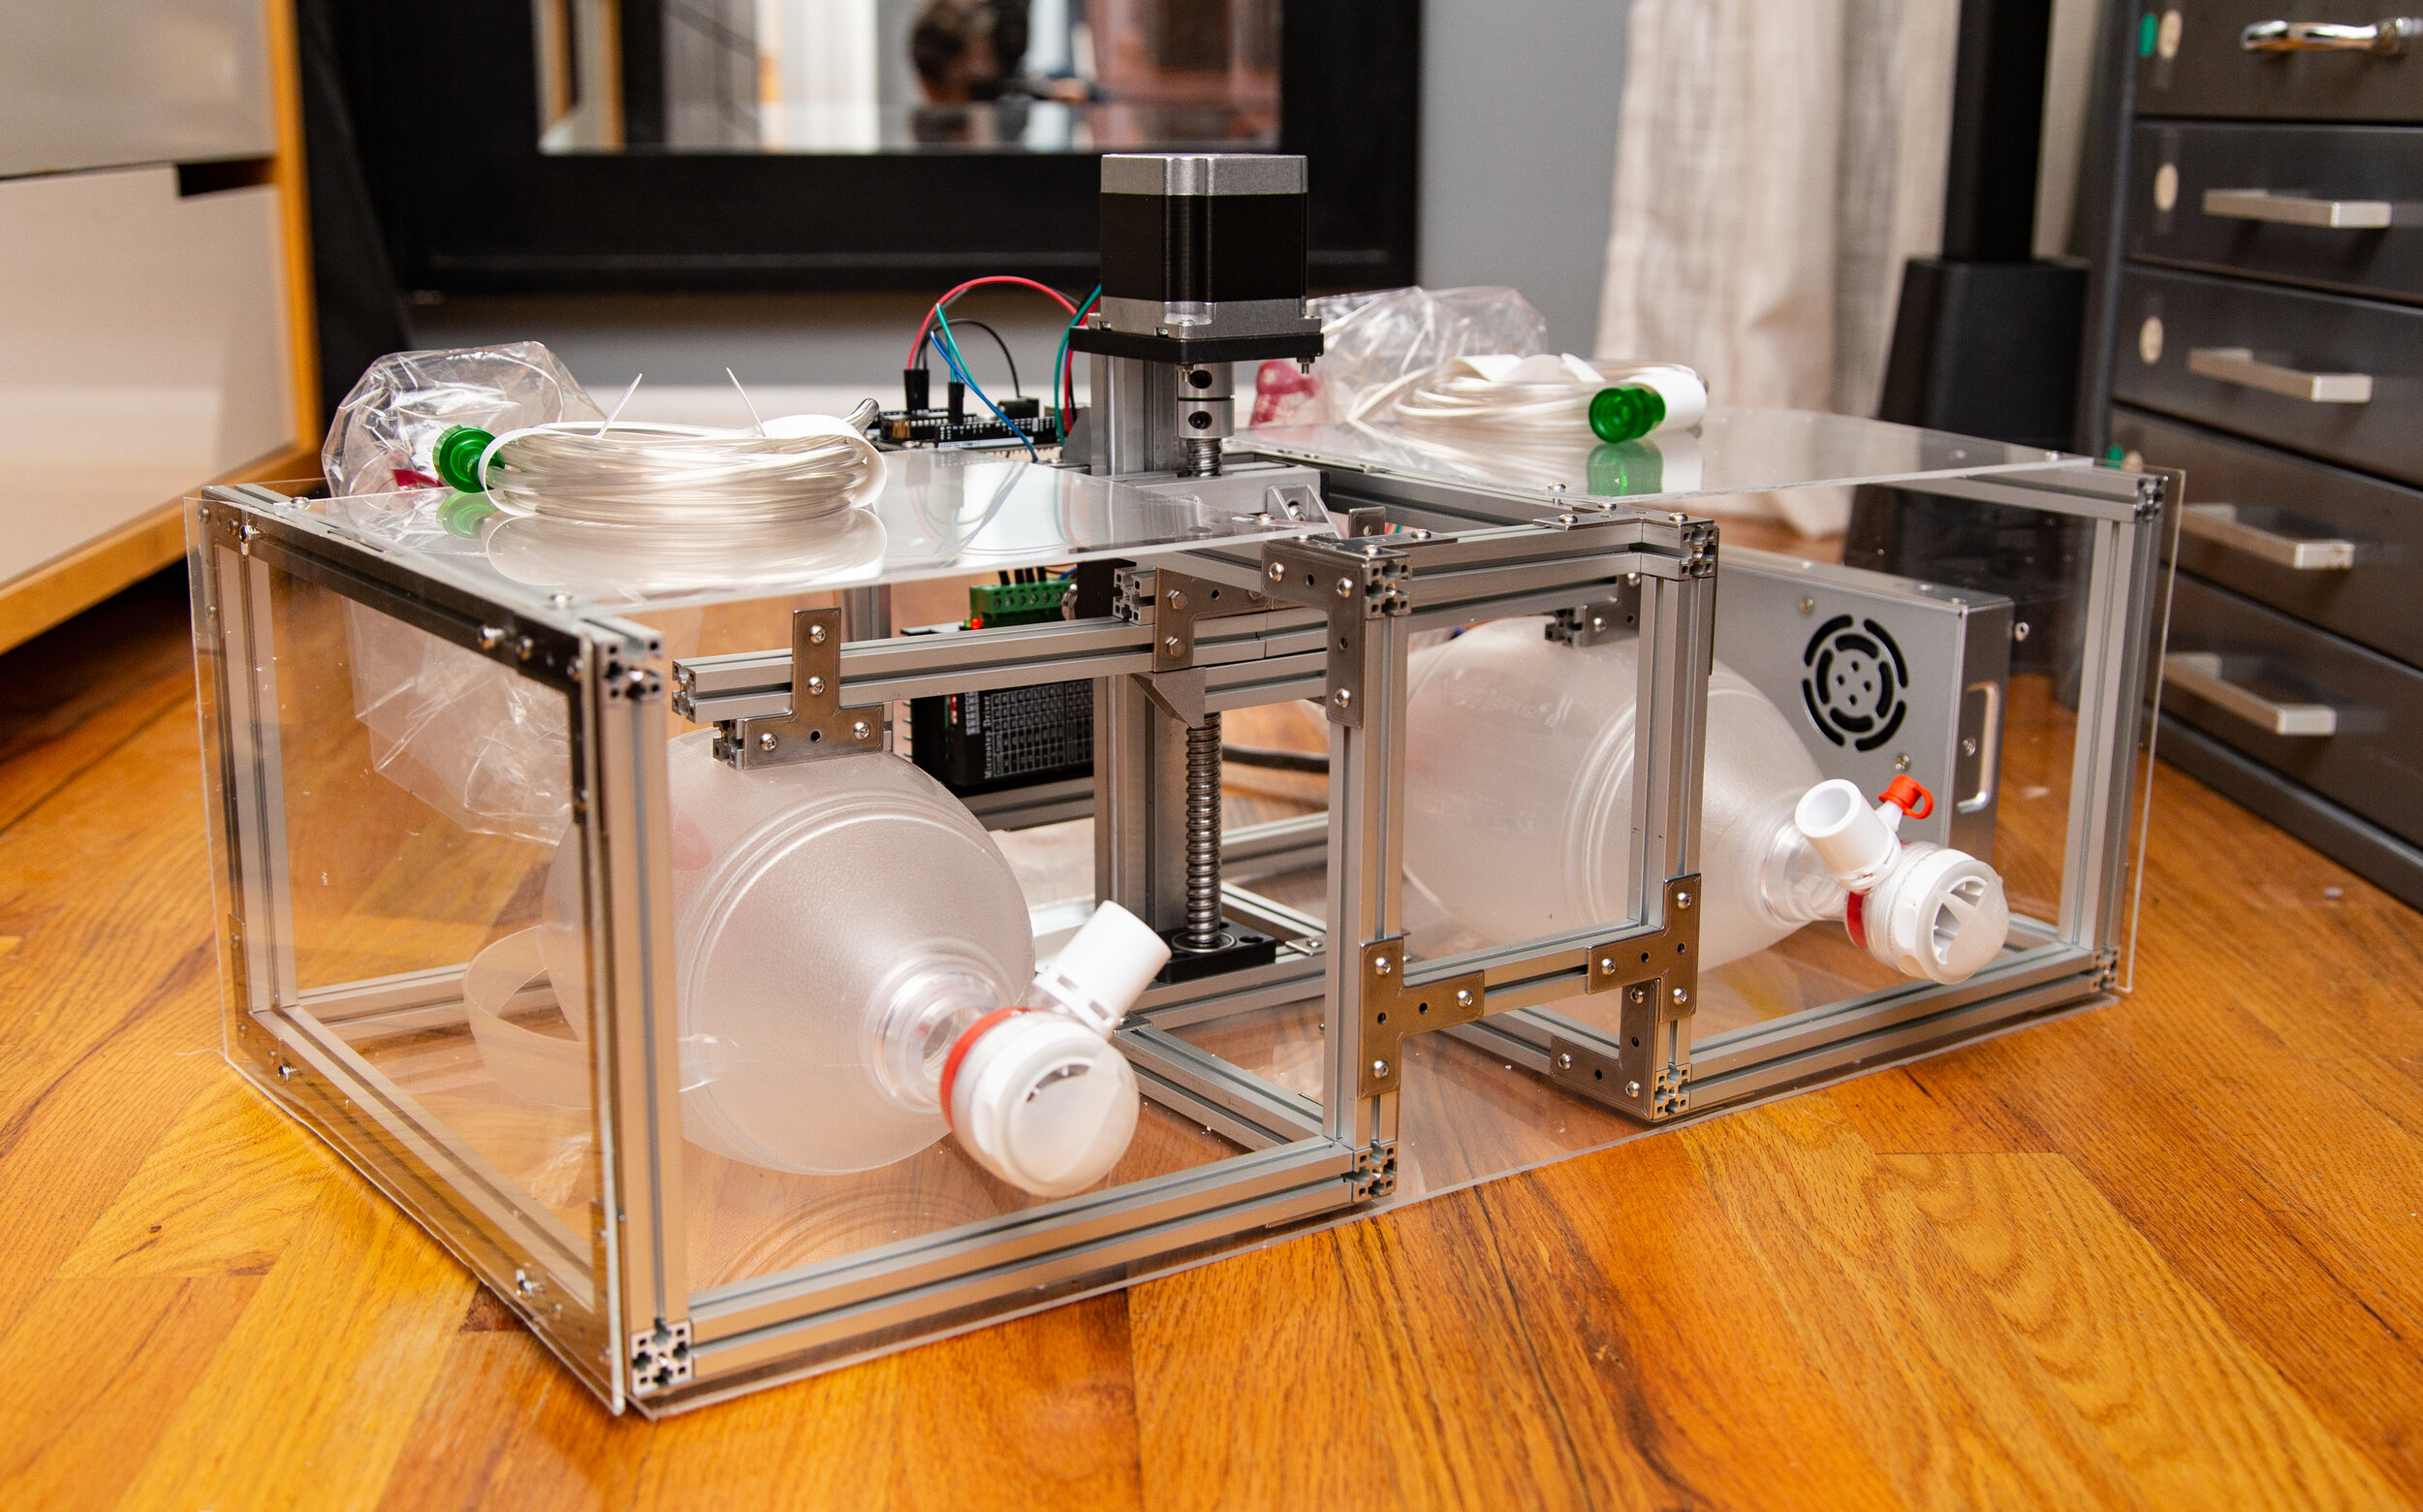
I added Plexiglass panels to provide surfaces for and to reduce the chance of injury from contacting the moving parts or electronics. As a final addition, I wired in a simple on/off switch and internal 9volt battery power for the board.
Done!

RESULTS
The final device achieves a maximum cycle rate of 4.5 seconds with a theoretical volume of 1.6L, approximating a relatively deep breath. The rate of ‘breathing’ is on the low end of the desired 12-20 cycles/minute, and a future iteration of the device should aim to improve on this. That said, the minimum benchmark is achieved, and from a self-teaching perspective. I’m willing to declare this prototype a success.


FINAL REMARKS
This project was extremely fun to work on, and it gave me a sense of purpose during some of the most isolating days of the Covid-19 pandemic. I started knowing almost nothing about circuits, Arduinos, servo motors, hardware design, or respiratory medicine, and my knowledge of all these areas was significantly expanded. A major success at all levels!